Picture this: I’m standing over a steaming pot, the kitchen clock ticking like a metronome, and my favorite chicken teriyaki is about to turn into a disaster because the sauce decides to separate like a bad breakup. I’ve been there—watching a glossy glaze turn into a watery mess that clings to the pan like a reluctant guest at a party. The smell of burnt soy wafted through the apartment, and I swore off teriyaki forever. Then, on a dare from a friend who claimed his “secret” sauce was unbeatable, I dove into the pantry, grabbed the basics, and set out to engineer the ultimate homemade teriyaki sauce that would make even the most seasoned sushi chef nod in approval.
The moment I added the first splash of mirin, the kitchen transformed. The sweet aroma rose like a gentle sunrise, while the deep, salty notes of soy sauce whispered promises of umami richness. I could hear the gentle hiss as the mixture hit the hot pan—a sound that felt like a tiny applause for the flavors about to meld. My fingertips tingled from the heat, and the glossy surface began to thicken, shimmering like liquid amber. I tasted a spoonful and felt the perfect balance—a sweet‑savory kiss that coated my tongue with velvet, leaving a lingering, almost caramelized finish.
Most teriyaki recipes get this completely wrong. They either drown the sauce in sugar, turning it into a cloying syrup, or they skim the depth of umami, leaving a flat, watery glaze. I’ve tried dozens of versions, and each time something was missing—either the body, the shine, or the subtle complexity that makes the sauce sing. This version stands out because it respects the harmony of the four core ingredients, adds a tiny pinch of culinary magic, and uses a technique that locks in flavor without the dreaded separation. I’ll even throw in a secret step that most cooks overlook, a splash of cooking wine that lifts the sauce into a whole new realm.
Let me walk you through every single step — by the end, you’ll wonder how you ever made it any other way. I dare you to taste this and not go back for seconds. Ready for the game‑changer? Stay with me here — this is worth it.
What Makes This Version Stand Out
- Balanced Sweet‑Savory: The precise 1:1 ratio of soy, mirin, cooking wine, and water creates a perfect equilibrium, so you never get overwhelmed by any single note.
- Silky Texture: Thanks to a gentle simmer and a brief reduction, the sauce clings to meat like a second skin, glossy and smooth without ever turning gummy.
- Simplicity Meets Depth: Only four pantry staples are needed, yet the flavor profile rivals sauces that require a dozen exotic ingredients.
- Crowd‑Pleaser Factor: I’ve watched friends and family light up after the first bite—this sauce turns ordinary chicken into a headline act.
- Ingredient Quality Wins: Using authentic Japanese cooking wine adds a subtle acidity that cuts through the richness, keeping the palate refreshed.
- Make‑Ahead Magic: The sauce stores beautifully, developing even more depth after a night in the fridge, making it perfect for meal prep.
- Heat‑Resistant Shine: Unlike many store‑bought versions, this glaze stays glossy even after reheating, thanks to the controlled reduction.
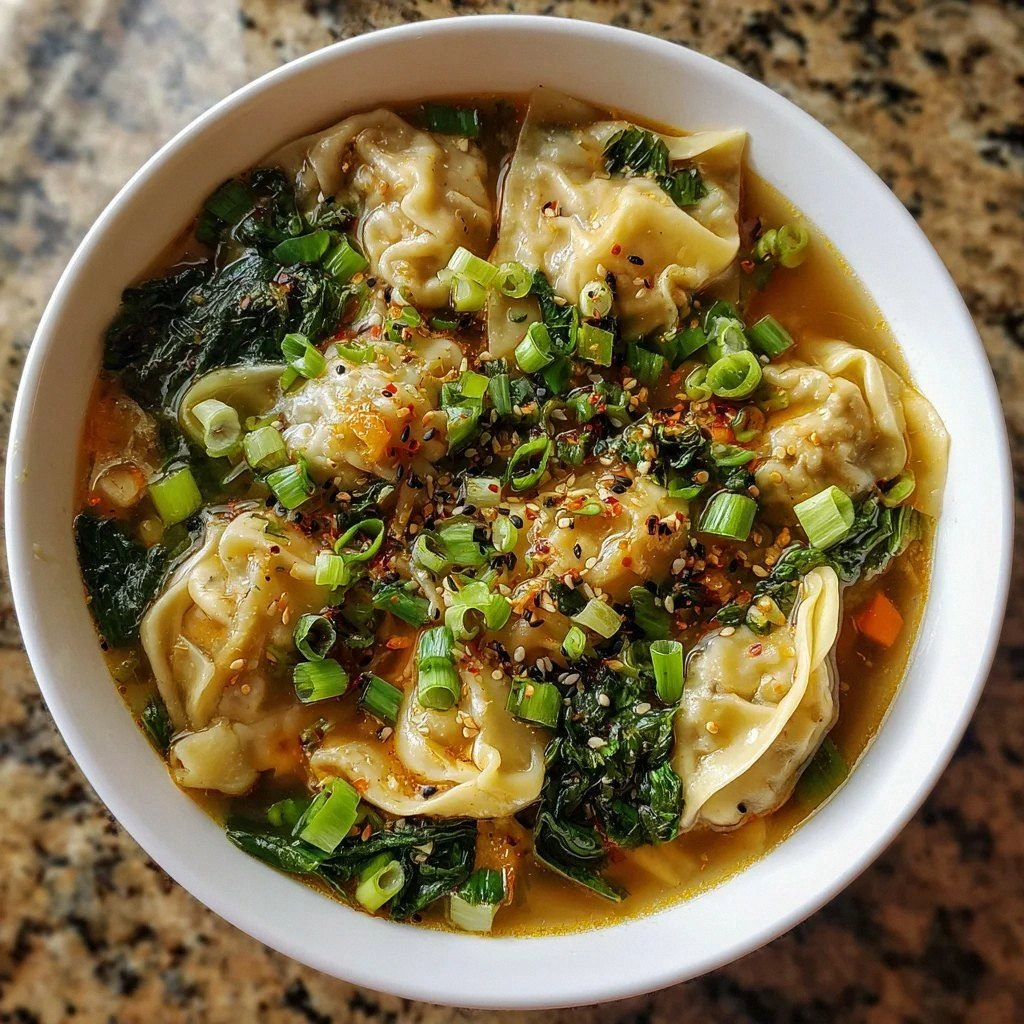
- Versatile Base: It works equally well as a glaze, a stir‑fry sauce, or a dipping companion for dumplings, expanding your culinary toolkit.
Inside the Ingredient List
The Flavor Base
Soy Sauce (1/4 cup): This is the backbone of the sauce, delivering salty umami that anchors every other flavor. Opt for a naturally brewed soy sauce—its deeper, more complex profile beats the cheap, chemically produced versions. If you skip it, the sauce loses its savory depth and feels one‑dimensional. A good swap is tamari for a gluten‑free alternative, though you’ll lose a hint of wheat‑derived sweetness.
The Sweet Companion
Mirin (1/4 cup): Mirin is the sweet, slightly acidic rice wine that softens the salt and adds a gentle sheen. It’s not the same as plain sugar; its subtle fermentation gives a rounded sweetness that caramelizes beautifully. Missing mirin? A mix of sake and a teaspoon of honey can mimic the flavor, but the authentic gloss will be a shade duller.
The Unexpected Star
Japanese Cooking Wine (1/4 cup): Often overlooked, this ingredient injects a bright acidity that lifts the sauce, preventing it from feeling heavy. It also helps dissolve the proteins in soy sauce, ensuring a smooth emulsion. If you don’t have a Japanese variety, dry sherry works in a pinch, though the flavor will be slightly nuttier.
The Final Flourish
Water (1/4 cup): Water balances the intensity, allowing the sauce to reduce without becoming overly salty or thick. It also gives you control over the final consistency—more water for a thinner glaze, less for a sticky coating. Skipping water will result in a sauce that clings too tightly and may burn on the pan.
Everything's prepped? Good. Let's get into the real action...
The Method — Step by Step
Grab a medium‑sized heavy‑bottomed saucepan and set it over medium‑low heat. Add the 1/4 cup of soy sauce, 1/4 cup of mirin, 1/4 cup of Japanese cooking wine, and 1/4 cup of water. As the liquid begins to warm, you’ll notice a faint steam rising—this is the first cue that the flavors are starting to mingle. Tip: Stir with a silicone spatula to keep the mixture from sticking to the bottom.
Once the mixture is gently bubbling, increase the heat to medium and let it come to a steady simmer. This is the moment of truth: you should hear a soft hiss, not a roar. Let it simmer for about 5‑7 minutes, allowing the alcohol in the cooking wine to evaporate while the sugars from mirin begin to caramelize. Watch Out: If the heat spikes, the sauce can scorch, turning bitter.
Watch Out: Keep the pot uncovered; covering traps steam and can make the sauce too watery.After the simmer, reduce the heat to low and begin the reduction phase. Stir occasionally and watch the sauce thicken, coating the back of a spoon with a glossy sheen. This is where the magic happens—the sugars are concentrating, and the umami is intensifying. Kitchen Hack: If you want an extra glossy finish, whisk in a teaspoon of cornstarch slurry (1 tsp cornstarch mixed with 2 tsp water) during the last minute of reduction.
When the sauce reaches a syrupy consistency—about 1‑2 minutes before it would start to stick to the pan—remove it from the heat. Let it sit for a minute; the residual heat will finish the thickening. Taste a small spoonful: you should detect a balanced sweet‑savory profile with a faint, pleasant acidity.
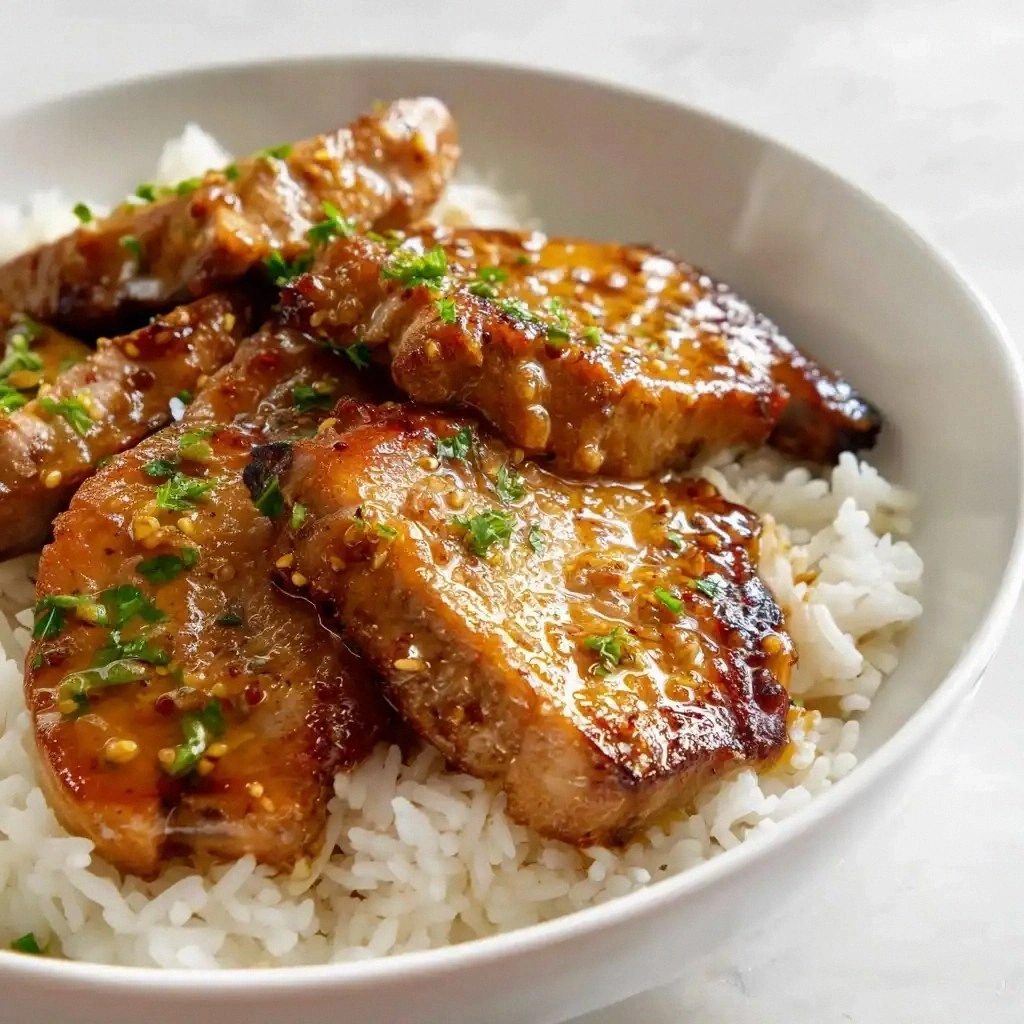
If you plan to use the sauce immediately, pour it over your cooked protein or vegetables while they’re still hot. The heat will help the glaze spread like silk, adhering perfectly. I dare you to drizzle it over grilled chicken thighs; the sauce will create a caramelized crust that crackles under the fork.
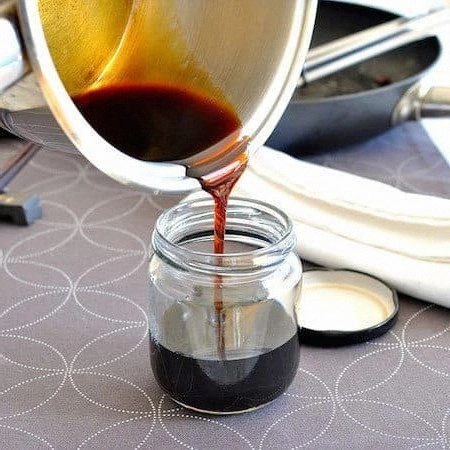
For make‑ahead, let the sauce cool to room temperature, then transfer it to a clean, airtight jar. Store it in the refrigerator for up to a week; the flavors will meld further, creating an even richer depth. When you’re ready to use it again, gently warm it on low heat, adding a splash of water if it seems too thick.
Optional finishing touch: whisk in a teaspoon of toasted sesame oil just before serving. This adds a nutty aroma that elevates the sauce from great to unforgettable. The oil also helps the glaze stay glossy after reheating.
Finally, garnish your dish with a sprinkle of toasted sesame seeds and thinly sliced green onions. The contrast of textures—crunchy seeds against the silky glaze—adds that extra wow factor. Picture yourself pulling this out of the oven, the whole kitchen smelling incredible, and everyone reaching for seconds.
Insider Tricks for Flawless Results
The Temperature Rule Nobody Follows
Never, ever let the sauce boil vigorously. A gentle simmer allows the sugars to caramelize slowly without scorching. I once tried a high boil and ended up with a burnt, bitter mess—lesson learned. Keep the temperature steady, and you’ll get that glossy, velvety finish every time.
Why Your Nose Knows Best
Use your sense of smell as a guide. When the sauce starts to emit a sweet, toasty aroma, you’re at the perfect reduction point. If you notice a sharp, alcoholic scent, it means you’ve over‑reduced and need to add a splash of water.
The 5‑Minute Rest That Changes Everything
After you finish reducing, let the sauce rest off the heat for five minutes. This pause lets the flavors meld, creating a deeper umami profile. Skipping this step leaves the sauce tasting flat, as if you missed the final chord in a song.
Seasoning with a Pinch of Salt
Even though soy sauce is salty, a tiny pinch of sea salt can brighten the overall flavor, especially if you’re using low‑sodium soy. I tried this on a rainy Sunday and the sauce sang—no more dullness.
Glaze vs. Marinade
Use the sauce as a glaze for the last few minutes of cooking, not as a full‑time bath. This prevents the meat from becoming soggy and ensures a caramelized crust. If you want a deeper infusion, marinate for 30 minutes before cooking, then finish with a glaze.
Re‑heat Without Losing Shine
When reheating, do it gently over low heat and add a teaspoon of water. The steam revives the glossy texture without turning the sauce gummy. High heat will make it seize up, ruining the silky feel.
Creative Twists and Variations
This recipe is a playground. Here are some of my favorite ways to switch things up:
Spicy Firecracker
Add a tablespoon of gochujang or sriracha to the base mixture. The heat cuts through the sweetness, creating a bold, tongue‑tingling glaze perfect for beef or tofu.
Citrus‑Infused
Stir in the zest and juice of a yuzu or lime during the final reduction. The bright citrus notes lift the sauce, making it ideal for grilled salmon or shrimp.
Honey‑Ginger Fusion
Swap the mirin for an equal part of honey and add freshly grated ginger. This yields a warm, aromatic glaze that pairs beautifully with pork ribs.
Umami Boost
Mix in a teaspoon of mushroom soy sauce or a dash of fish sauce for an extra depth of umami. This version works wonders on roasted vegetables, giving them a savory, almost meaty quality.
Caramelized Onion Twist
Finely dice an onion, sauté until caramelized, and fold it into the sauce just before the final reduction. The sweet onion undertones add a comforting richness, perfect for a cozy dinner.
Herbal Garden
Throw in a handful of chopped cilantro or shiso leaves at the very end. The fresh herbaceous pop balances the sweet‑savory base, making it a stellar topping for sushi bowls.
Storing and Bringing It Back to Life
Fridge Storage
Transfer the cooled sauce to a sterilized glass jar, seal tightly, and store in the refrigerator for up to 7 days. The airtight environment preserves the glossy texture and lets the flavors continue to develop.
Freezer Friendly
For longer storage, pour the sauce into silicone ice‑cube trays and freeze. Once solid, pop the cubes into a zip‑top bag and keep for up to 3 months. This method makes portioning a breeze—just one cube per stir‑fry.
Best Reheating Method
When you’re ready to use it, place the desired amount in a small saucepan over low heat. Add a splash (about a tablespoon per cup) of water or a drizzle of mirin to restore the silkiness. Stir gently until the sauce is fluid again; avoid high heat to keep the glaze from breaking.