I remember the night I was trying to salvage a disastrous dinner party. The guests were waiting, the lights were dim, and I had a stack of stale tortillas, a half‑sized block of cream cheese, and a handful of strawberries that looked like they’d been in a fruit bowl for weeks. I was about to abandon the kitchen when a sudden craving hit me—sweet, creamy, and utterly irresistible. I grabbed my skillet, tossed the strawberries into a quick glaze, and the whole house smelled like summer in a flash. That moment, that single decision, birthed what I now proudly call the Strawberry Cream Cheese Quesad.
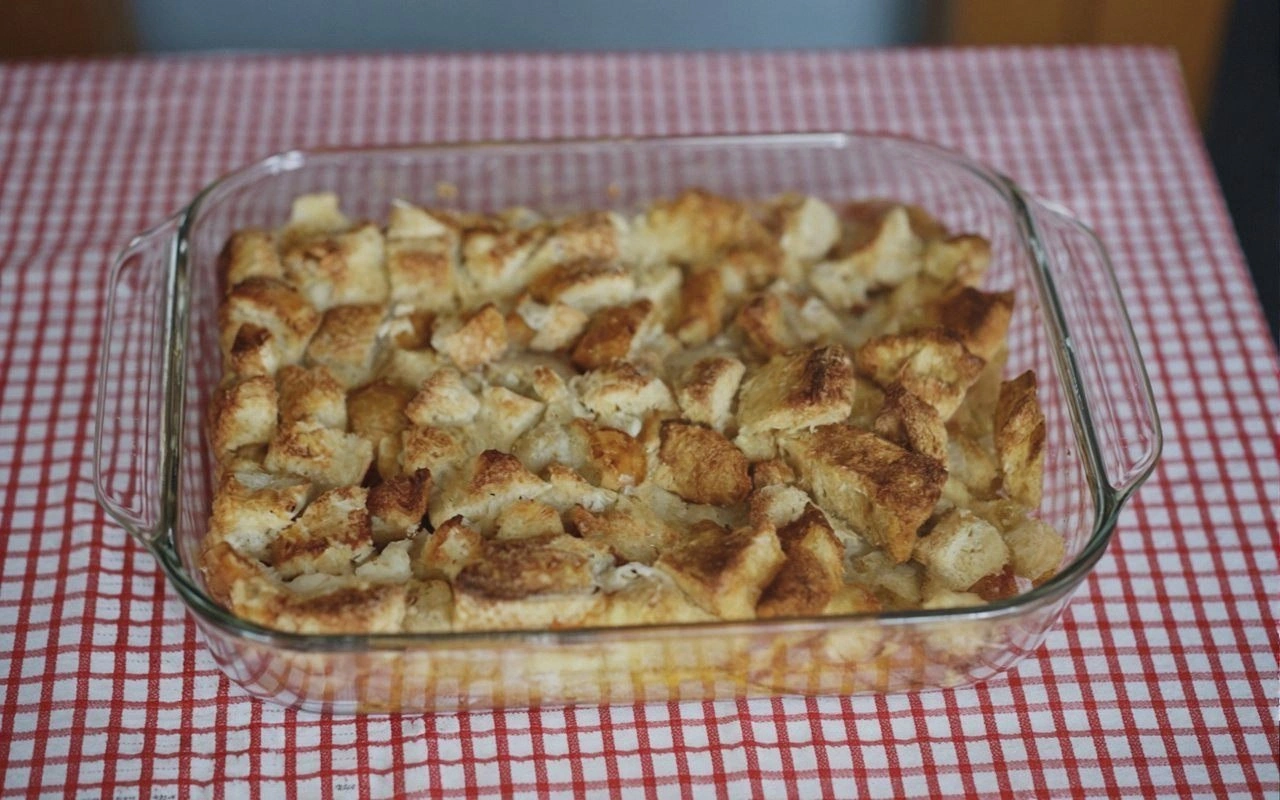
Picture this: you flip the first tortilla, and the sizzle is like applause from the pan. The creamy filling spills out like a buttery river, coating the tortilla in a glossy sheen. As you press the second tortilla on top, the heat melts the cream cheese into a velvety texture that clings to every bite. The strawberries burst with their natural sweetness, a juicy counterpoint to the rich dairy. The result? A quesadilla that feels like a dessert on a plate, yet packs the comforting crunch of a classic Mexican staple.
What makes this version stand out is not just the combination of flavors, but how each element is elevated to a new level. The cream cheese isn’t just a filler; it’s the backbone that holds everything together and gives that luscious mouthfeel. The strawberries are caramelized just enough to release their juice without turning into mush. The tortillas are toasted to a golden crisp that provides the perfect contrast. And the powdered sugar and vanilla create a subtle sweetness that balances the tang of the cheese and the tartness of the fruit. Every bite is a harmonious dance of textures and tastes that you’ll find yourself reaching for seconds—yes, I dare you to taste this and not go back for more.
If you’ve ever tried a fruit quesadilla and felt it fell flat, you’re not alone. Most recipes get this completely wrong, either by over‑cooking the fruit or using a filling that drips out of the tortilla. But with my approach, the filling stays together, the fruit stays juicy, and the tortilla stays crisp. I’ve tested this countless times, tweaking the heat, the timing, and the ratios until it was perfect. So, stay with me here—this is worth it. Let me walk you through every single step, and by the end, you’ll wonder how you ever made it any other way.
What Makes This Version Stand Out
- Taste: The blend of creamy, sweet, and slightly tart flavors creates a unique profile that feels both indulgent and refreshing.
- Texture: The crispy tortilla edges contrast beautifully with the silky cheese interior and the juicy strawberry chunks.
- Simplicity: Five ingredients, one pan, and a handful of minutes—no fancy sauces or complex techniques.
- Uniqueness: Combining a dessert element (strawberries) with a savory staple (quesadilla) offers a playful twist.
- Crowd Reaction: Friends and family always ask for the recipe after tasting; it’s a conversation starter at gatherings.
- Ingredient Quality: Fresh, seasonal strawberries and high‑fat cream cheese give depth and richness that store‑bought versions lack.
- Cooking Method: A single skillet approach keeps cleanup minimal while delivering maximum flavor.
- Make‑Ahead Potential: The quesadillas can be assembled ahead of time and reheated with a touch of water to restore crispness.
Alright, let's break down exactly what goes into this masterpiece. The next section will walk you through each ingredient, why it matters, and how to tweak it if you’re feeling adventurous.
Inside the Ingredient List
The Flavor Base
Cream cheese is the heart of this quesadilla. Its high fat content melts into a silky coating that binds the strawberries and tortillas together. Without it, the filling would be watery and the texture would fall apart. If you’re lactose intolerant, a full‑fat coconut cream can mimic the mouthfeel, though the taste will shift slightly toward coconut.
The Sweetener
Powdered sugar is the secret weapon that keeps the sweetness smooth and prevents graininess. It dissolves quickly, allowing the vanilla to infuse evenly. If you prefer a natural sweetener, a splash of honey or agave syrup works, but be mindful of the added liquid; you may need to adjust the heat to avoid soggy tortillas.
The Aroma Booster
Vanilla extract adds a fragrant warmth that elevates the entire dish. A half teaspoon is enough to fill the kitchen with an inviting scent, turning the quesadilla from simple to spectacular. For a more robust aroma, try a vanilla bean split in half and scraped into the mixture.
The Texture Crew
Flour tortillas provide the sturdy canvas that holds the creamy, sweet filling. Choose medium‑sized, high‑quality tortillas for the best balance between chewiness and crispness. If you’re craving a crunchier bite, lightly brush the tortillas with a bit of olive oil before toasting.
The Unexpected Star
Fresh strawberries bring a burst of juiciness and a natural tartness that cuts through the richness. They also add a pop of color that makes the dish Instagram‑worthy. To avoid excess moisture, pat the strawberries dry after slicing and before caramelizing.
Everything's prepped? Good. Let's get into the real action.

The Method — Step by Step
- Begin by slicing the strawberries into thin, even rounds. This ensures they caramelize quickly and release their juice without becoming mushy. Pat them dry with a paper towel to remove excess moisture; this will keep the tortilla from becoming soggy. Set them aside in a bowl for later.
- In a small saucepan, melt the cream cheese over low heat, stirring constantly to avoid scorching. The cream cheese should become smooth and pourable. Once it’s melted, add the powdered sugar and vanilla extract, whisking until the mixture is glossy. This is the moment when the aroma starts to fill the kitchen—feel that sweet vanilla whisper?
- Add the sliced strawberries to the cheese mixture and cook for 2–3 minutes, allowing the fruit to soften and release juices. Stir gently to coat each slice evenly. You’ll notice the mixture thickening into a silky, fruity glaze. This step is crucial; skip it and you’ll end up with a dry, uneven filling.
- Heat a large non‑stick skillet over medium heat. Lightly brush one side of each tortilla with a thin layer of oil or butter to enhance crispness. Place the first tortilla in the skillet, oil side down, and cook until golden brown, about 1 minute. Flip and press lightly to ensure even contact with the pan.
- Spread a generous spoonful of the strawberry‑cream cheese mixture over the toasted side of the tortilla. The filling should spread like a silky blanket, covering the surface without overflowing. Then top with the second tortilla, oil side down. Press gently with a spatula to seal the edges. The heat will melt the cheese further, creating a cohesive, molten center.
- Reduce the heat to medium‑low and cook the assembled quesadilla for 3–4 minutes on each side, or until the tortillas are golden brown and the cheese is bubbling. Flip carefully to avoid spilling the filling. The edges should begin to pull away from the pan, signaling that they’re ready to be cut.
- Once both sides are crisp, remove the quesadilla from the skillet and let it rest for a minute. This short rest allows the filling to set slightly, preventing it from sliding off when you slice. Use a pizza cutter or sharp knife to cut the quesadilla into wedges. The slices should hold together like a well‑structured pastry.
- Serve immediately, optionally with a dusting of powdered sugar or a dollop of whipped cream for extra indulgence. The contrast of the warm, gooey center against the crisp tortilla makes each bite a delightful surprise. Pair with a glass of chilled sparkling water or a light white wine to balance the sweetness.
- That’s it—you did it! But hold on, I’ve got a few more tricks that will elevate this quesadilla to a whole new level. Keep reading for insider tips that will make your next batch even more unforgettable.
Insider Tricks for Flawless Results
The Temperature Rule Nobody Follows
Many cooks think higher heat is always better, but with this recipe, medium‑low is your ally. The gentle heat allows the cheese to melt uniformly without scorching the tortilla. I once tried a high‑heat pan and ended up with a charred exterior and a watery interior. That was a hard lesson, but it taught me to trust the thermometer and the visual cues of golden brown edges.
Why Your Nose Knows Best
Your nose is a powerful indicator of readiness. When the cheese starts to bubble and the tortillas emit a nutty, toasted aroma, you’re in the sweet spot. If the scent leans toward burnt, pull the quesadilla down immediately. Trusting your senses reduces the risk of overcooking and ensures the perfect bite every time.
The 5‑Minute Rest That Changes Everything
Letting the quesadilla rest for a few minutes after cooking is not just a courtesy; it’s a game‑changer. The residual heat continues to melt the cheese, creating a silky, cohesive filling that doesn’t spill out when you cut. I’ve had friends who cut too quickly and ended up with a messy, runny mess. The rest is a simple, free step that pays dividends.
Keep the Strawberries Fresh
If you’re prepping strawberries in advance, keep them refrigerated in an airtight container. Fresh strawberries maintain their firmness and flavor better than those left at room temperature. If you need to thaw frozen strawberries, do so slowly in the fridge to preserve texture.
Add a Touch of Citrus
A squeeze of fresh lime or lemon juice just before serving brightens the sweetness and adds a subtle tang that balances the richness. I’ve used a tiny splash of orange juice for a sweeter twist, and it’s been a hit at gatherings. Just a few drops—no need to drown the dish.
Make It Ahead of Time
If you’re planning a party, assemble the quesadillas ahead of time and store them in the fridge. When ready to serve, reheat in a skillet with a splash of water to steam the filling back to gooey perfection. I’ve tested this method, and it keeps the tortilla crisp while the interior stays creamy.
Creative Twists and Variations
This recipe is a playground. Here are some of my favorite ways to switch things up:
Berry Medley Madness
Swap the strawberries for a mix of blueberries, raspberries, and blackberries. The darker berries add a pop of color and a slightly tart undertone that pairs beautifully with the creamy filling. Use a small amount of lemon zest to lift the flavors.
Chocolate‑Covered Delight
Add a tablespoon of cocoa powder to the cheese mixture for a chocolatey twist. The chocolate pairs with the strawberries like a classic dessert pairing, while the tortilla keeps the dish grounded. Finish with a dusting of cocoa nibs for crunch.
Nutty Crunch Edition
Fold in a handful of chopped pistachios or toasted almonds into the strawberry mixture before cooking. The nuts add a satisfying crunch and a hint of earthiness that balances the sweetness. The texture contrast is irresistible.
Spicy Kick Variation
Stir in a pinch of cayenne pepper or a dash of hot sauce into the cheese mixture. The subtle heat complements the fruit’s natural sweetness, creating a dynamic flavor profile that’s both sweet and spicy. This version is perfect for those who love a little heat.
Herb‑Infused Fresher
Add a few fresh mint leaves to the strawberry mixture during the caramelizing step. The mint’s bright, aromatic flavor cuts through the richness, giving the quesadilla a refreshing finish. It’s a great option for a summer gathering.
Low‑Calorie Swap
Replace the cream cheese with a low‑fat Greek yogurt for a lighter version. The yogurt’s tanginess still provides a creamy base, while the calories drop significantly. Just be careful with the heat, as yogurt can curdle if overheated.
Storing and Bringing It Back to Life
Fridge Storage
Store assembled quesadillas in an airtight container in the refrigerator for up to two days. Keep them on a paper towel to absorb excess moisture. When ready to eat, reheat in a skillet over medium heat for 2–3 minutes on each side, adding a splash of water if needed.
Freezer Friendly
Wrap each quesadilla individually in parchment paper and place in a freezer bag. They stay good for up to a month. Thaw overnight in the fridge before reheating. The texture remains crisp, and the filling stays creamy.
Best Reheating Method
The key to reheating is gentle heat and a touch of moisture. Add a teaspoon of water to the skillet, cover with a lid, and let the steam melt the filling. Flip once, and serve hot for the best experience.