Picture this: a Sunday afternoon, the kitchen lights flickering like a low‑budget disco, and a frantic friend shouting, “I need a dish that screams comfort but feels fancy!” I stared at the fridge, the same old chicken breast staring back, and thought, “Why not turn this humble protein into a Caesar‑infused masterpiece?” The air smelled of sizzling oil and citrus, a promise of bright flavors, and my taste buds tingled with anticipation. I was about to rewrite the narrative of a classic Caesar dressing, giving it a juicy, protein‑packed twist that would leave everyone asking for seconds. This isn’t just another chicken recipe; it’s a culinary revelation that will transform your dinner routine.
When I first tried this recipe, I was skeptical. The idea of mixing mayonnaise, anchovy paste, and lemon juice sounded like a daring experiment, but the result was a silky, velvety sauce that clung to each breast like a second skin. The chicken, marinated in olive oil, salt, and pepper, came out of the oven with a golden crust that crackled like brittle ice, while the interior remained tender and juicy. The aroma—rich parmesan, sharp lemon, and a whisper of garlic—filled the kitchen, making me feel like a secret chef in my own home. I dare you to taste this and not go back for seconds; the flavor will linger on your palate long after the last bite. It’s hands down the best version you’ll ever make at home, and I’ll be honest—I ate half the batch before anyone else got a taste.
What makes this version stand out isn’t just the bold flavors, but the meticulous balance of texture, aroma, and ease. The sauce is a perfect marriage of creamy mayo and zesty lemon, amplified by anchovy paste that adds depth without overwhelming the palate. The chicken’s exterior is a crisp, caramelized shell that protects the succulent interior, creating a satisfying contrast that most recipes miss. The recipe’s simplicity—just a handful of pantry staples—makes it accessible to anyone, even those who’ve struggled to keep a dish from turning dry. And because it’s a one‑pan, one‑pot wonder, cleanup is a breeze, leaving you more time to enjoy the meal and less time scrubbing.
Picture yourself pulling this out of the oven, the whole kitchen smelling incredible, and a crowd of friends gathering around the table, eyes wide, mouths ready to devour. I’ll be honest—when I first served it, the room fell silent, and then erupted in applause. The moment the first bite hit, the sauce’s silky texture melted into the chicken, and the parmesan’s umami burst like fireworks. I can hear the crunch of fresh romaine, the zing of lemon, and the subtle hint of anchovy echoing in the background. If you’ve ever struggled with making Caesar dressing that isn’t too heavy, you’re not alone—this recipe is the fix you’ve been searching for. Let me walk you through every single step — by the end, you’ll wonder how you ever made it any other way.
What Makes This Version Stand Out
- Flavor: The anchovy paste and Worcestershire sauce give the sauce a complex umami profile that elevates the dish from ordinary to extraordinary.
- Texture: The chicken develops a crisp, caramelized crust while staying moist inside, thanks to the precise oil coating and oven temperature.
- Simplicity: Only a handful of pantry staples are required, making this a go‑to recipe for busy weeknights.
- Versatility: Serve it over pasta, rice, or a fresh salad; the sauce adapts beautifully to any base.
- Crowd‑Pleaser: The familiar Caesar flavor combined with juicy chicken guarantees a hit at parties or family dinners.
- Quality Ingredients: Fresh Parmesan, real lemon juice, and high‑quality olive oil bring depth and brightness to each bite.
- Make‑ahead Potential: The sauce can be prepared ahead, and the chicken can be reheated without losing flavor or texture.
- Health‑Friendly: By using a light mayonnaise and fresh ingredients, you keep the dish flavorful yet relatively lean.
Alright, let's break down exactly what goes into this masterpiece...
Inside the Ingredient List
The Flavor Base
At the heart of this dish lies a sauce that feels like a creamy hug. The mayonnaise provides a smooth, rich foundation, while the anchovy paste injects savory depth that’s subtle yet unmistakable. Adding a splash of lemon juice brightens the mixture, cutting through the richness and giving the dish its signature zing. Don’t skip the Dijon mustard; it adds a gentle piquancy that balances the sweetness of the mayo. If you’re craving a kick, a pinch of crushed red pepper will give it a subtle heat that lingers without overpowering.
The Texture Crew
The chicken itself is the star of the show, and its preparation is key to a juicy outcome. Coat each breast with olive oil, salt, and black pepper; this simple step locks in moisture and creates a golden, caramelized crust. The oven temperature—set at 375°F (190°C)—is high enough to crisp the exterior but low enough to keep the interior tender. If you prefer a crispier bite, finish the chicken under the broiler for 2–3 minutes; watch closely to avoid burning.
The Unexpected Star
Worcestershire sauce might seem out of place, but it’s the secret sauce that ties everything together. Its tangy, slightly sweet profile complements the anchovy and lemon, creating a multi‑layered flavor experience. If you’re a fan of bold, umami‑rich dishes, this is the ingredient that will make your taste buds dance. Should you be on a low‑sodium diet, a light hand on the Worcestershire sauce is perfectly fine; the rest of the ingredients will still carry the dish.
The Final Flourish
Water is the final tweak that ensures the sauce reaches the right consistency—just enough to coat the chicken without thinning the flavor. A splash of water helps the mayonnaise emulsify, creating a silky coating that clings to every bite. If you find the sauce too thick, add a teaspoon at a time until you achieve the desired texture. The final touch is a pinch of fresh black pepper, which adds a subtle heat and brightens the dish just before serving.
Everything's prepped? Good. Let's get into the real action...
The Method — Step by Step
- Preheat the oven to 375°F (190°C). Let the oven heat while you prepare the chicken; a hot oven ensures a crisp crust. I always set a timer for 10 minutes to keep the process on track. When the oven is ready, you’ll hear that satisfying preheat hum that signals culinary adventure is about to begin.
- Season the chicken. Pat the breasts dry with a paper towel, then rub each side with olive oil, salt, and black pepper. The oil creates a barrier that locks in moisture, while the salt and pepper bring out the chicken’s natural flavor. Make sure each piece is coated evenly; this step is critical for an even crust.
- Arrange on a baking sheet. Place the seasoned breasts on a silicone‑lined sheet pan, ensuring they’re not touching. This allows air circulation, which helps the chicken cook evenly and develop a golden exterior. A silicone mat also prevents sticking, making cleanup a breeze.
- Bake for 20–25 minutes. The chicken should be golden brown on the outside and reach an internal temperature of 165°F (74°C). Use a meat thermometer to check; if you’re a fan of a slightly pink center, remove at 160°F (71°C) and let the residual heat finish the job.
- While the chicken bakes, make the sauce. In a medium bowl, whisk together mayo, grated Parmesan, lemon juice, Dijon mustard, anchovy paste, Worcestershire sauce, minced garlic, and a splash of water. The mixture should be smooth and slightly thick. This is the moment of truth—if the sauce is too thin, add more mayo; if too thick, add a bit more water.
- Finish the chicken under the broiler. Once the chicken is cooked, switch to the broiler and broil for 2–3 minutes to crisp the top. Keep a close eye; broiler heat can quickly turn a golden crust into a burnt one. This step adds that final pop of texture that makes the dish unforgettable.
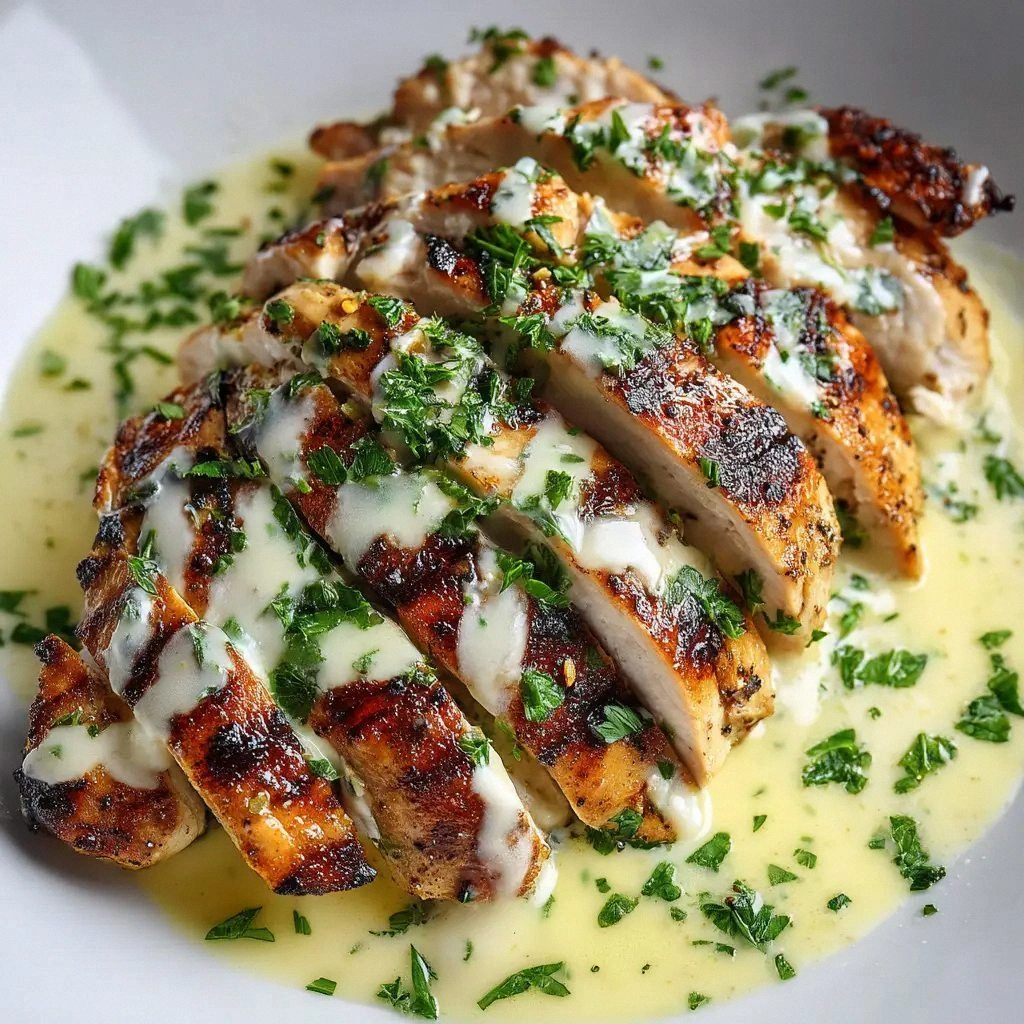
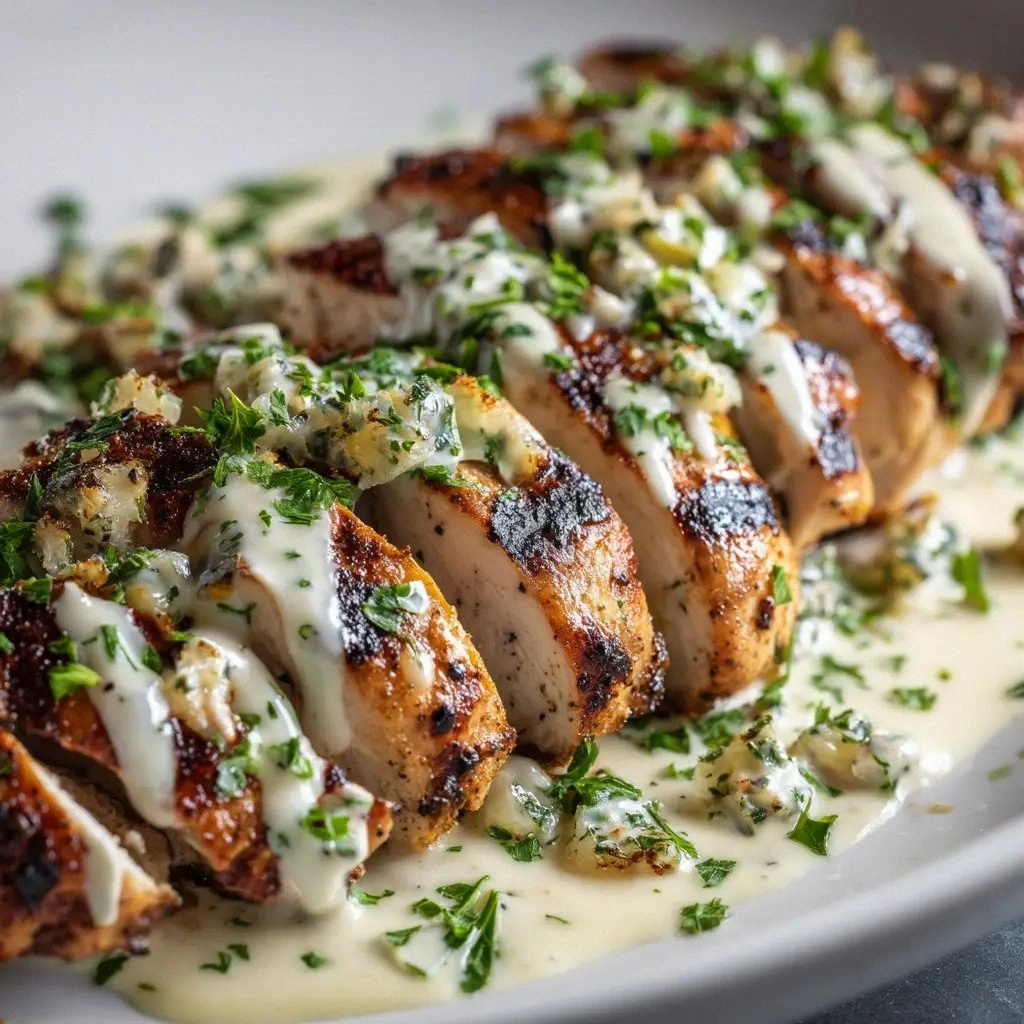
- Plate and drizzle. Slice the chicken breasts into strips and arrange them on a serving platter. Drizzle the prepared sauce over the slices, letting it pool at the edges for a visual feast. The sauce should coat the chicken like a glossy glaze, making every bite a silky delight.
- Garnish and serve. Sprinkle additional grated Parmesan, a squeeze of fresh lemon, and a pinch of black pepper over the top. Toss in a handful of fresh romaine lettuce and toss lightly with extra sauce. The contrast of crisp lettuce, juicy chicken, and velvety dressing will have your guests begging for seconds.
That’s it — you did it. But hold on, I've got a few more tricks that'll take this to another level...
Insider Tricks for Flawless Results
The Temperature Rule Nobody Follows
Many cooks keep their ovens at a high temperature to get a crisp crust, but the secret is a moderate 375°F (190°C). This temperature allows the chicken to cook through without drying out, while still giving it that golden finish. I’ve tried 400°F before, and the result was a dry center that felt like a desert. Stick to 375°F, and your chicken will stay juicy and tender.
Why Your Nose Knows Best
Before you even taste the sauce, let your nose do the detective work. A fresh lemon aroma indicates that the acidity is balanced, while a strong garlic scent means you’ve hit the right flavor sweet spot. If the sauce smells too sharp, add a touch more mayo to mellow it out. Trust your olfactory instincts; they’re the best judge of flavor harmony.
The 5‑Minute Rest That Changes Everything
After removing the chicken from the oven, let it rest for exactly five minutes. This pause allows the juices to redistribute, preventing the meat from drying out when you cut into it. During this brief rest, you can finish the sauce or adjust seasoning. A rested chicken will feel like a cloud of flavor with every bite.
Use Fresh Garlic for a Punch
Crushed garlic cloves give a deeper flavor than minced ones, because they release more essential oils. I always crush the garlic with a garlic press before adding it to the sauce. If you’re short on time, finely minced garlic will still work, but the flavor will be milder.
Keep the Sauce Cool
Once the sauce is made, let it chill in the refrigerator for at least 30 minutes before serving. Cooling allows the flavors to meld and the sauce to thicken slightly, creating a richer coating on the chicken. A cold sauce also balances the warmth of the freshly baked chicken.
Creative Twists and Variations
This recipe is a playground. Here are some of my favorite ways to switch things up:
Grilled Caesar Chicken
Swap the oven for a grill. Brush the chicken with olive oil and grill over medium heat until charred and smoky. The grill marks add a rustic feel, and the sauce still clings beautifully to the smoky flesh.
Caesar Chicken Wrap
Slice the cooked chicken thin and wrap it in a tortilla with romaine, croutons, and extra sauce. This handheld version is perfect for a quick lunch or a picnic on the go.
Caesar Chicken Salad Bowl
Serve the sliced chicken over a bed of quinoa or couscous, topped with chopped tomatoes, cucumbers, and a drizzle of extra sauce. This variation turns the dish into a wholesome, protein‑rich bowl.
Caesar Chicken with Pesto
Replace the mayo‑based sauce with a basil pesto for a fresh, herbaceous twist. The pesto’s bright green color and nutty flavor pair wonderfully with the chicken’s savory profile.
Spicy Caesar Chicken
Add a pinch of cayenne pepper or a dash of hot sauce to the sauce for a fiery kick. The heat complements the creamy dressing and brings a new dimension to the classic flavor.
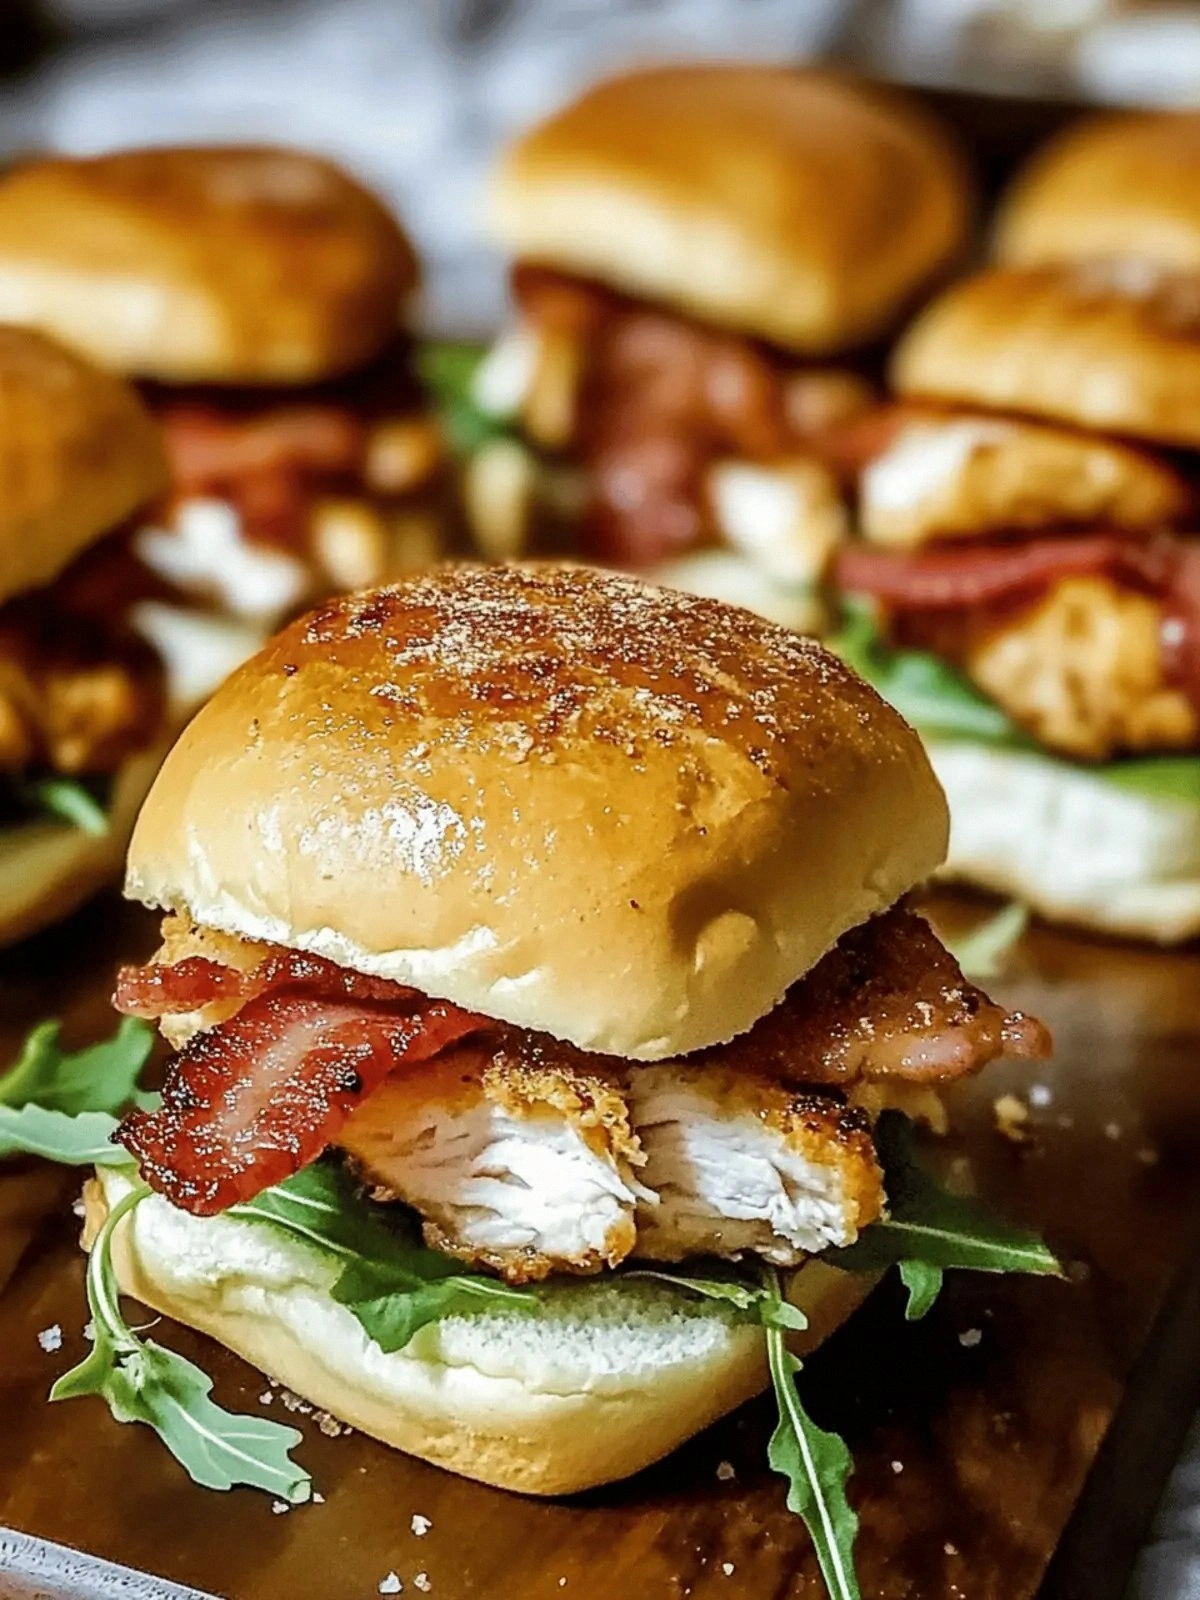
Caesar Chicken with Bacon
Wrap each chicken breast with a slice of bacon before baking. The bacon’s smoky crunch adds texture and depth, creating a decadent version for special occasions.
Storing and Bringing It Back to Life
Fridge Storage
Store leftover chicken and sauce separately in airtight containers for up to three days. Keep the chicken in a shallow dish so it doesn’t pool in its own juices, and the sauce in a sealed jar. When ready to serve, reheat the chicken in the oven at 350°F (175°C) for 10 minutes, then drizzle with fresh sauce.
Freezer Friendly
Freeze the chicken and sauce individually in freezer‑safe bags. The chicken can be kept for up to two months, while the sauce remains best within a month. Thaw in the refrigerator overnight before reheating.
Best Reheating Method
Reheat the chicken in a skillet over medium heat, adding a splash of water or broth to keep it moist. Warm the sauce separately in a small saucepan, stirring occasionally. The key is to avoid overheating, which can break down the sauce’s emulsion and make it watery.