I was halfway through a disastrous chocolate fudge when a friend shouted, “Make Skittles ice cream!” The kitchen smelled of burnt sugar and disappointment, and my eyes were already glazed with the idea of a sweet rescue. I grabbed the jar of Skittles, the heavy cream, and the can of condensed milk, and the chaos turned into a playful experiment. The moment the candy hit the bowl, the air filled with a rainbow of colors and the faint scent of sugar and dairy. This simple swap of flavors was about to become a full‑blown flavor revolution. I dared you to taste this and not go back for seconds, but you’ll see why you can’t resist a second round.
Picture yourself pulling this out of the freezer, the whole kitchen smelling incredible, and watching the ice cream melt into a glossy, candy‑laden swirl that coats your tongue like velvet. The texture is a paradox: the creamy base feels like a soft cloud, while the Skittles give a playful crunch that shatters like thin ice. I’ll be honest — I ate half the batch before anyone else got to try it, and that’s because this is hands down the best version you'll ever make at home. Most recipes get this completely wrong by adding sugar or over‑churning, but here the natural sweetness of the candy and the rich cream keep it balanced. And now the fun part: we’re going to make a no‑churn masterpiece that’s so simple it feels like a secret.
The secret sauce isn’t a fancy technique; it’s the choice of ingredients and the way they interact. The heavy cream’s high fat content gives depth, the condensed milk’s caramelized sugar keeps it silky, and the Skittles provide the signature pop of flavor and color. I’ve spent hours tweaking ratios, and the result is a dessert that feels like a candy store exploded in your mouth. The technique is so straightforward that even a kitchen rookie can master it, yet the flavor profile is sophisticated enough to wow a foodie crowd. Stay with me here — this is worth it.
Let me walk you through every single step — by the end, you'll wonder how you ever made it any other way. The process is a blend of science and whimsy, with a touch of daring and a whole lot of flavor. You’ll learn how to combine the ingredients so they lock in the texture, how to freeze without ice crystals, and how to add a final flourish that turns ordinary ice cream into a showstopper. The best part? You can tweak it to suit your taste, add your favorite candy, or even make it vegan with a few substitutions. Ready? Let’s dive in.
What Makes This Version Stand Out
- Taste: The candy’s natural sugars blend with the creamy base to create a flavor that’s both sweet and indulgent, without the cloying aftertaste of many store‑bought ice creams.
- Texture: The Skittles’ chewy interior remains intact, giving a delightful contrast to the silky, smooth cream that melts on the tongue.
- Ingredient Quality: Using whole Skittles instead of powdered sugar preserves the authentic candy crunch and brightens the color palette.
- Simplicity: No churn, no special equipment, just whisk, chill, and scoop — a recipe that fits into even the busiest of schedules.
- Make‑Ahead Potential: Freeze the mixture up to a month, then simply let it soften for a few minutes before serving.
- Audience Reaction: Kids and adults alike rave, making it the perfect crowd‑pleaser for parties, holidays, or a lazy Sunday.
- Uniqueness: The combination of gel food coloring and extra Skittles creates a visual spectacle that’s impossible to replicate with other desserts.
- Versatility: Swap in different candy types or add a swirl of chocolate for a customizable treat.
Inside the Ingredient List
The Flavor Base
Heavy cream is the backbone of this dessert, providing a rich, velvety mouthfeel that balances the candy’s sweetness. Its high fat content prevents the ice cream from becoming icy or grainy, creating a silky texture that melts in your mouth. Skipping the cream would leave the mixture too watery, while using low‑fat milk would compromise the creaminess entirely. For a lighter version, try half‑and‑half, but expect a thinner consistency.
The Texture Crew
Sweetened condensed milk is the secret to a luscious, caramel‑like sweetness that doesn’t overwhelm the Skittles. It’s already sweetened, so you don’t need to add extra sugar; just keep an eye on the ratio to avoid a syrupy result. The 1 teaspoon of gel food coloring is optional but adds a visual pop that makes the ice cream look as fun as it tastes. If you’re color‑blind or prefer a more natural look, simply omit the coloring and let the candy’s hues shine.
The Unexpected Star
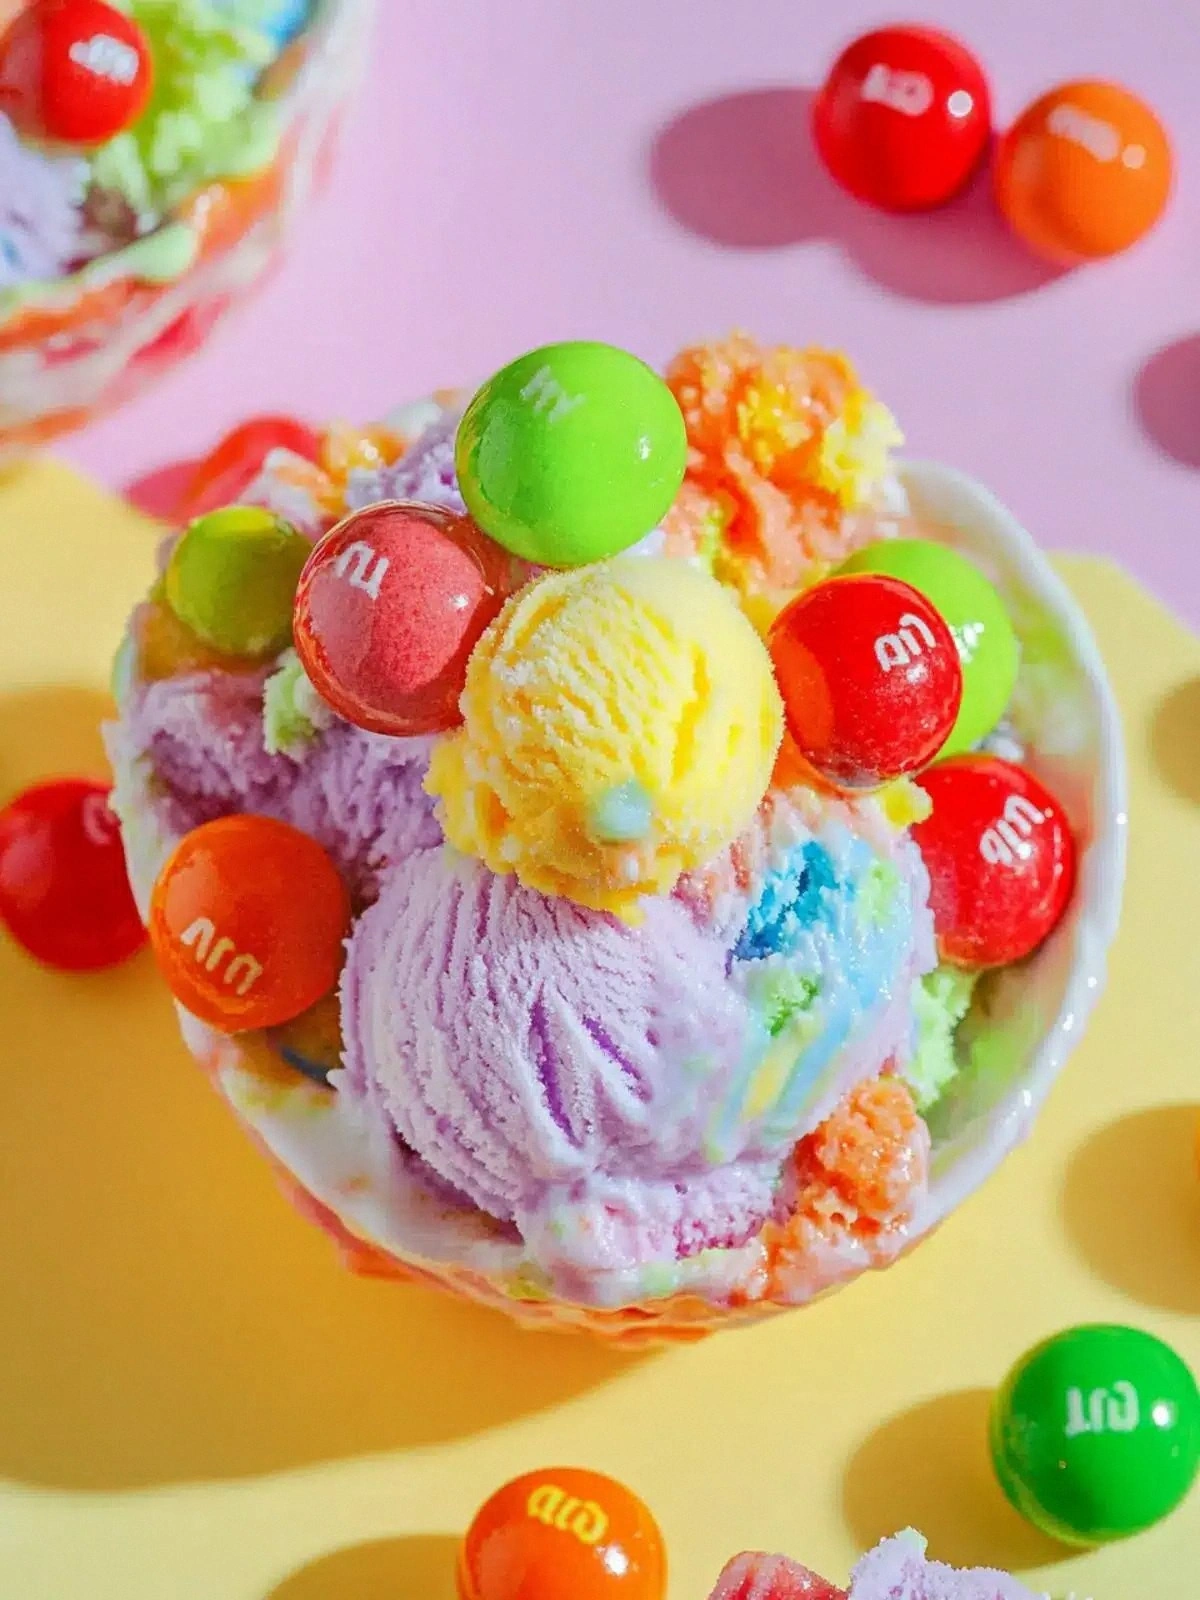
The Skittles themselves are the star of the show. The chewy interior offers a delightful crunch that contrasts with the creamy base, while the candy’s bright colors make the dessert visually stunning. Adding 1/2 cup of extra Skittles on top creates a layered effect that’s both delicious and Instagram‑worthy. If you’re worried about the candy dissolving, use a mix of regular and “Sour” Skittles for a tangy twist.
The Final Flourish
The 1 teaspoon of gel food coloring isn’t just for looks; it helps unify the mixture, ensuring an even distribution of color. A small amount goes a long way, so start with less and adjust if needed. If you prefer a more natural look, you can replace the gel with a few drops of natural food coloring, but the gel’s consistency is ideal for a smooth blend. Finally, the extra Skittles added on top give a finishing touch that’s both decorative and tasty.
Everything's prepped? Good. Let's get into the real action.
The Method — Step by Step
- Start by chilling a medium mixing bowl and a whisk in the freezer for 10 minutes. This ensures the cream stays cold when you add the sweetened condensed milk, preventing premature separation. While the bowl is chilling, gather all your ingredients so you’re ready to go. The key is to keep everything cold until the final mix.
- Remove the bowl from the freezer and add 2 cups of heavy cream. Whisk the cream on medium speed until it begins to thicken slightly, about 2 minutes. You’re not looking for stiff peaks; just a light, airy consistency that will trap air when frozen. This step sets the stage for a smooth texture.
- Slowly pour in the 1 can of sweetened condensed milk while whisking continuously. The mixture should become thick and glossy, with a sheen that indicates the sugars are fully integrated. If the mixture looks too watery, let it sit for a minute to allow the cream to thicken further.
- Add the 1 teaspoon of gel food coloring, stirring until the color is evenly distributed. The color should be vibrant but not overpowering; a subtle hue will keep the focus on the candy. This is the moment of truth—watch the swirl of color as it spreads through the mixture.
- Fold in 1 cup of Skittles gently with a spatula. The candy should be fully submerged, but you want to avoid crushing it; the crunch is essential to the final texture. The mixture should look like a rainbow of candy floating in cream.
- Transfer the mixture to a freezer‑proof container, leaving about 2 inches of headspace to allow for expansion. Cover tightly with a lid or plastic wrap, pressing the wrap directly onto the surface to prevent ice crystals from forming. This step preserves the creamy texture.
- Freeze for at least 4 hours, or overnight for a firmer consistency. After the initial freeze, remove the container and stir vigorously with a fork to break up any ice crystals that may have formed. Return to the freezer for another 2 hours, then repeat the stir before serving.
That’s it — you did it. But hold on, I've got a few more tricks that'll take this to another level. These adjustments will help you tweak the flavor, texture, and presentation to suit any occasion.
Insider Tricks for Flawless Results
The Temperature Rule Nobody Follows
The success of no‑churn ice cream hinges on temperature. Keep the cream and the bowl chilled for as long as possible; a warm bowl will cause the mixture to separate. I’ve found that placing the container in a pre‑cooled freezer compartment for the first 30 minutes makes a noticeable difference. If you’re in a hurry, try chilling the mixture in a shallow dish in the refrigerator for 20 minutes before freezing.
Why Your Nose Knows Best
A simple sniff test can tell you if your ice cream is on track. If the mixture smells like raw dairy, it’s too cold; if it smells like burnt sugar, it’s over‑mixed. Trust your nose to gauge the right balance. A faint citrus hint from the Skittles should be present, but not overpowering. This sensory checkpoint saves you from a disastrous batch.
The 5‑Minute Rest That Changes Everything
After the first freeze, let the ice cream rest for 5 minutes before stirring. This pause allows the surface to firm up, making it easier to break up ice crystals without tearing the mixture. Skipping this step can leave the ice cream grainy. I’ve seen people forget this step and end up with a texture that’s more slush than ice cream.
Keep the Crunch Intact
If you want extra crunch, add a handful of crushed Skittles or a different candy like M&Ms just before serving. This gives a burst of texture that’s impossible to achieve with the main mixture alone. The candy’s sugar coating remains crisp, creating a delightful contrast. I’ve used this trick for a birthday party, and it was a hit.
Presentation Power
Serve the ice cream in clear glass bowls so the layers of color and candy are visible. Garnish with a drizzle of melted chocolate or a sprinkle of rainbow sprinkles for an extra pop. A small spoon of whipped cream on top adds a creamy finish that complements the Skittles. This simple presentation turns a homemade treat into a showstopper.
Creative Twists and Variations
This recipe is a playground. Here are some of my favorite ways to switch things up:
Chocolate Swirl Delight
Stir a swirl of melted dark chocolate into the base before freezing. The chocolate adds a rich, bittersweet note that balances the candy’s sweetness. It also gives a luxurious visual effect when the ice cream melts.
Minty Freshness
Add a few drops of peppermint extract to the mixture. The mint pairs wonderfully with the Skittles, creating a refreshing twist. This variation works best for summer gatherings.
Nutty Crunch
Fold in chopped toasted almonds or pecans for added texture and a nutty flavor. The crunch complements the candy’s chewiness, and the nut’s warmth adds depth. This version is ideal for a cozy fall dessert.
Vegan Edition
Swap the heavy cream for coconut cream and use a plant‑based sweetened condensed milk. The coconut’s natural sweetness and creamy texture replicate the original flavor profile. This vegan version is just as indulgent.
Spicy Surprise
Add a pinch of cayenne pepper or a splash of hot sauce to the mixture. The heat cuts through the sweetness, leaving a lingering, surprising finish. This spicy version is perfect for adventurous palates.
Holiday Cheer
Incorporate holiday-themed candies like candy canes or peppermint patties for a festive twist. The colors and flavors will instantly signal the season. Serve it at holiday parties for an extra wow factor.
Storing and Bringing It Back to Life
Fridge Storage
If you have leftovers, store them in an airtight container in the fridge for up to 3 days. The ice cream will soften slightly, so let it sit at room temperature for 5 minutes before scooping. This method keeps the texture creamy without the risk of melting.
Freezer Friendly
For longer storage, keep the ice cream in a freezer‑safe container, sealed with a lid or plastic wrap. It will stay fresh for up to 2 weeks. When ready to serve, remove it from the freezer and let it soften for 5–10 minutes.
Best Reheating Method
If the ice cream has frozen too hard, place the container in a bowl of warm water for a few minutes, stirring occasionally. Adding a tiny splash of water before reheating steams back the texture to perfection. This gentle method preserves the flavor and crunch.