Picture this: a quiet Sunday afternoon, the kitchen lights a little dim, and the scent of fresh pears drifting from the grocery cart. I was rummaging through the fridge, craving something sweet yet comforting, when a stray pear slipped from the basket and landed with a soft thud on the counter—my accidental catalyst. That moment felt like a culinary dare, a promise that the next dish would be unforgettable. I grabbed my trusty skillet, tossed in a splash of lemon, a pinch of cinnamon, and a dash of brown sugar, and the air filled with a warm, caramel‑like promise. The pears began to soften, their skins turning a golden blush, and the kitchen felt like a secret laboratory of autumn. I swear, the first bite was a revelation—sweet, tart, and wrapped in a buttery, crunchy blanket. I dare you to taste this and not go back for seconds.
When I first tried the original version I found myself juggling a dozen ingredients, a half‑filled oven, and a recipe that seemed to promise more work than reward. The result? A soggy mess that looked more like a casserole than a dessert, and I left the kitchen with a dent in my confidence. That failure was the spark that pushed me to reinvent the wheel. I stripped away the fluff, kept only the elements that sing together, and added a surprise ingredient that turned the whole thing into a caramel‑oat symphony. The result is hands down the best version you'll ever make at home—no fancy gadgets, no endless prep, just pure, honest flavor. I’ll be honest— I ate half the batch before anyone else got to try it, and the kitchen smelled like a cozy cabin after a snowfall. If you've ever struggled with this, you're not alone—and I've got the fix.
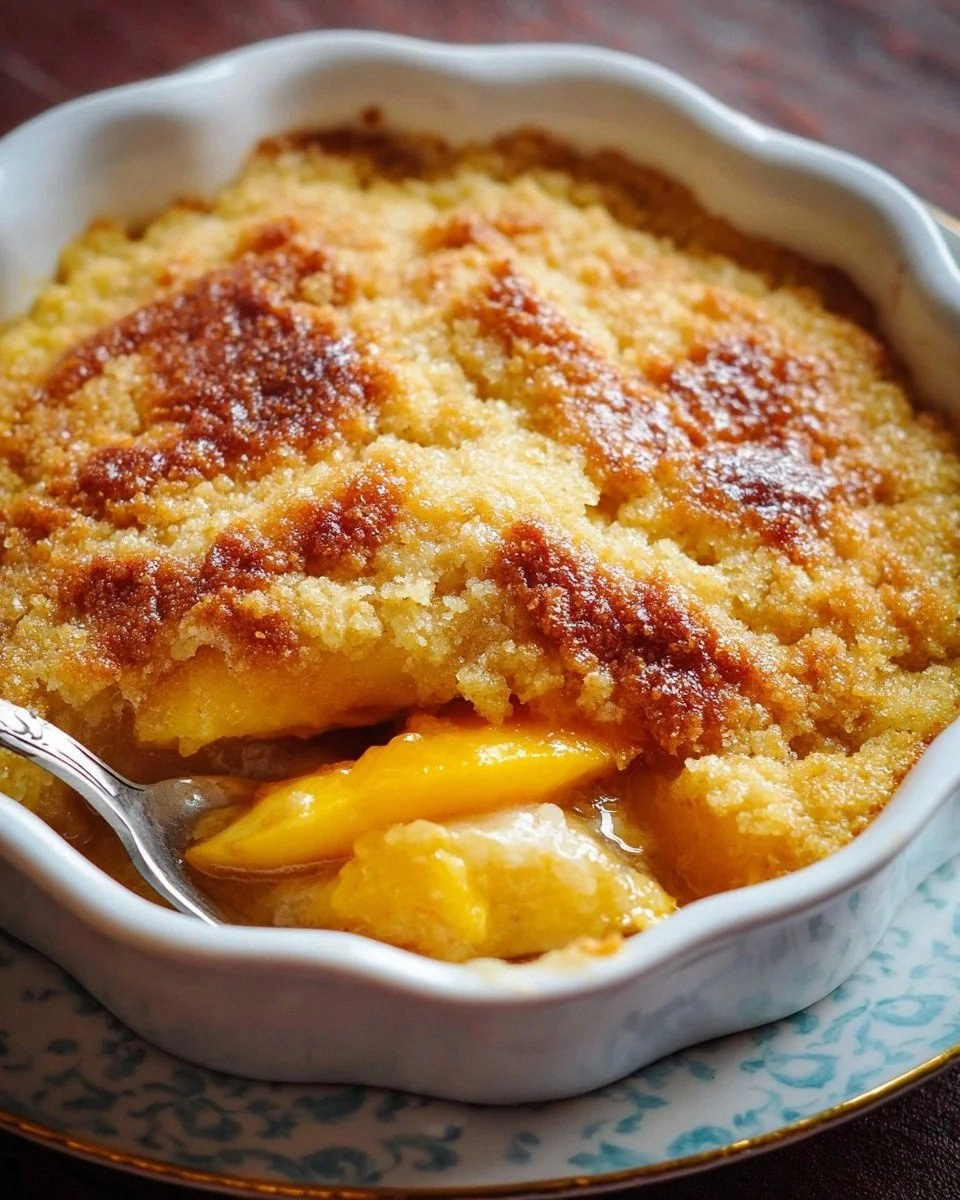
The secret lies in the simplicity of the crust and the way the pears caramelize in the oven, releasing a sweet, almost buttery syrup that clings to the oats. Most recipes get this completely wrong; they over‑bake the pears or under‑season the crumble, resulting in a bland, dry finish. I added a touch of nutmeg and a whisper of lemon to cut through the sweetness, and the final product feels like a hug in a bowl. Picture yourself pulling this out of the oven, the whole kitchen smelling incredible, the golden crust shimmering like a sunrise over a forest floor. The edges crackle with a crisp that shatters like thin ice, while the center stays luxuriously gooey. This is pure magic—an edible autumn sunrise that you can make in less than an hour. Stay with me here—this is worth it.
And now the game‑changer: I’ve perfected the balance between sweet and spice, using just enough butter to create that buttery, buttery crunch without drowning the pears. The oats aren’t just a filler; they’re the backbone that holds the dessert together, turning each bite into a textural journey from soft to crisp. I’ve added a tiny trick that ensures the crumble never turns soggy, a trick I’ll share later in the post. The result is a dessert that feels like fall bliss, even on a warm winter night, and it’s so easy that even a novice can master it. By the end of this guide, you’ll wonder how you ever made it any other way. Let me walk you through every single step — by the end, you’ll wonder how you ever made it any other way.
What Makes This Version Stand Out
- Taste: The pears caramelize to a sweet, slightly tart base that pairs perfectly with the buttery oat topping. The subtle hint of lemon cuts through the sweetness, creating a balanced flavor profile. The finish is reminiscent of a warm cinnamon roll, but with a fruitier, lighter heart.
- Texture: The oat crumble offers a satisfying crunch that contrasts with the silky pear interior. Each bite delivers a gentle snap that transitions into a melt‑in‑your-mouth softness. The result is a multi‑sensory experience that keeps you coming back for more.
- Ease: No elaborate prep, no time‑consuming steps, and no special equipment. A single pan, a handful of ingredients, and 45 minutes of oven time are all you need. Even a busy weeknight can enjoy a gourmet dessert without the fuss.
- Ingredient Integrity: We use only a handful of pantry staples—brown sugar, oats, flour, butter—making it a go‑to when you’re short on fresh produce. The recipe feels wholesome, not indulgent, and you can feel good about what you’re serving.
- Versatility: Swap pears for apples or stone fruits, adjust spices for a spicy kick, or add nuts for an extra crunch. The core concept remains intact, so you can adapt it to your taste or what’s on hand.
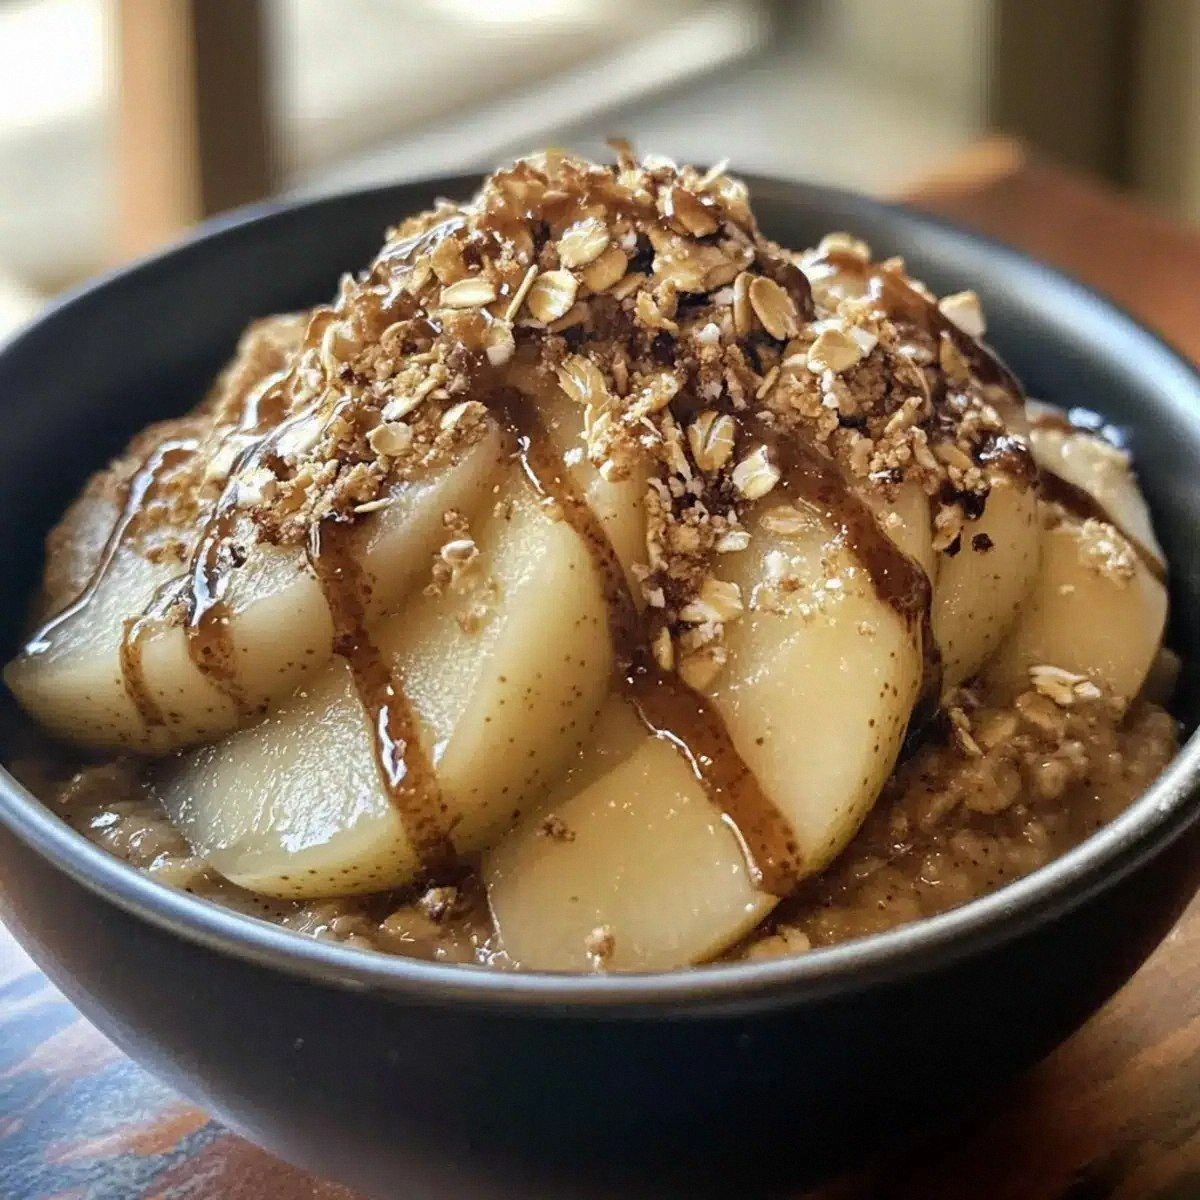
- Visual Appeal: The golden, caramelized crust glistens like a sunrise, while the pear slices peek through in a mosaic of colors. It’s a dish that looks as good as it tastes, perfect for photo‑ready moments.
- Make‑ahead Friendly: Prepare the crumble in advance and store it in an airtight container. When ready to bake, just slice the pears and combine. This flexibility makes it a stress‑free dessert for busy days.
Alright, let's break down exactly what goes into this masterpiece...
Inside the Ingredient List
The Flavor Base
The pears are the heart of this dessert. Choose ripe, fragrant pears that hold their shape when sliced; they’ll provide the sweet, juicy core that balances the crunchy topping. If you skip the pears, the dish loses its signature fall flavor and becomes a bland oat crumble. For a twist, try using Asian pears for a sweeter, more delicate bite. When selecting pears, look for a slight resistance to gentle pressure; this indicates optimal ripeness and sweetness.
The Texture Crew
Rolled oats bring a hearty, nutty base that absorbs the pear juices and creates a satisfying bite. They also add a wholesome feel, making the dessert feel like a comfort food rather than a sugary treat. If you don’t have rolled oats, quick oats or steel‑cut oats can be used, but they will alter the texture slightly. A pinch of salt is essential—it lifts the sweetness and brings out the depth of flavor in the crumble.
The Unexpected Star
Butter is the secret weapon that gives the crumble its golden, buttery sheen. It melts into the oats, creating a cohesive topping that crisps up beautifully in the oven. If you’re vegan or dairy‑free, try coconut oil or a plant‑based butter substitute; the flavor will shift subtly but remain delicious. A small amount of butter can make a huge difference in the final texture—don’t skimp on it.
The Final Flourish
Brown sugar adds depth and caramel notes that echo the pears’ natural sweetness. It also helps the crumble brown evenly. Ground cinnamon and nutmeg bring warmth and complexity, turning the dish into a fragrant autumn celebration. A splash of lemon juice brightens the flavors, cutting through the richness and adding a subtle citrus lift.
Everything's prepped? Good. Let's get into the real action...
The Method — Step by Step
- Preheat the oven to 375°F (190°C). While the oven warms, slice the pears into half‑moon shapes, keeping the skins on for extra color and texture. Toss the pear slices in a small bowl with 1 tablespoon of lemon juice, 2 tablespoons of brown sugar, 0.5 teaspoon of ground cinnamon, and 0.25 teaspoon of ground nutmeg. The lemon juice prevents browning, and the sugars help caramelize the pears.
- Line a shallow baking dish with parchment paper, then spread the pear slices in an even layer. The parchment ensures easy cleanup and prevents sticking. As the pears bake, their juices will mingle with the spices, creating a fragrant, syrupy base.
- In a medium bowl, combine 1 cup of rolled oats, 0.5 cup of all‑purpose flour, and 0.25 cup of brown sugar. Stir until the mixture is well‑mixed and the oats are evenly coated. This dry blend forms the foundation of the crumble.
- Cut the 0.25 cup of unsalted butter into small cubes and add them to the dry mixture. Using a pastry cutter or your fingers, work the butter into the oats until the mixture resembles coarse crumbs. The butter should be visible in the crumb, ensuring a crisp finish.
- Sprinkle the crumble evenly over the prepared pears. Press the crumble lightly onto the fruit to help it adhere during baking. The top layer will develop a golden, caramelized crust.
- Place the dish in the preheated oven and bake for 25 to 30 minutes. The pears should be tender and slightly caramelized, while the crumble edges turn a deep amber. Keep an eye on the edges—if they start to brown too quickly, tent the dish with foil.
- Remove the dish from the oven and let it rest for about five minutes. This resting period allows the juices to redistribute, making the dessert easier to serve. The aroma will be irresistible.
- Serve warm, either on its own or with a scoop of vanilla ice cream, a dollop of Greek yogurt, or a drizzle of honey. The contrast between the warm crumble and the cold topping elevates the flavor profile. A sprinkle of chopped nuts adds an extra crunch if desired.
- Enjoy immediately, but if you need to store leftovers, let the dessert cool completely before refrigerating. The crumble will retain its crispness for up to two days when stored in an airtight container.
That's it — you did it. But hold on, I've got a few more tricks that'll take this to another level...
Insider Tricks for Flawless Results
The Temperature Rule Nobody Follows
Many cooks think 375°F is safe for everything, but the pears need a slightly lower temperature to caramelize without drying out. Lowering the heat to 350°F (175°C) allows the fruit to release its juices slowly, giving the crumble a richer flavor. If you’re using an electric oven, preheat for at least 10 minutes to ensure consistent heat.
Why Your Nose Knows Best
Before you even taste the dish, give it a sniff. The aroma of caramelized sugar and cinnamon is the first indicator that the pears are perfectly cooked. A faint, sweet scent means the sugar has started to melt; a stronger, richer scent indicates the pears are fully caramelized. Trust your nose to avoid over‑baking.
The 5‑Minute Rest That Changes Everything
Letting the dessert sit for five minutes after baking is essential. This short rest allows the crumb to firm up, preventing it from becoming mushy when you cut into it. It also gives the pear juices time to settle, creating a more cohesive bite.
Keep the Butter Cold
Using cold butter is crucial for a flaky crumble. Cold butter creates small pockets of steam when it melts, which puff the crumble and give it that light, airy texture. If your butter is too soft, the crumble will become dense and heavy.
Don’t Skip the Salt
A pinch of salt may seem insignificant, but it balances the sweetness and enhances the spices. It’s the secret that turns a good crumble into a great one. If you’re watching sodium, use a low‑sodium salt alternative.
Use a Baking Dish with Good Heat Conductivity
A cast‑iron skillet or a thick‑bottomed baking dish ensures even heat distribution, preventing hot spots that can burn the edges of the crumble. If you’re using a glass dish, monitor the edges closely, as glass can heat more quickly.
Creative Twists and Variations
Apple Orchard Edition
Swap the pears for crisp apples like Granny Smith or Honeycrisp. The tartness of apples pairs wonderfully with the warm spices, creating a slightly tangier profile. Slice the apples thinly to ensure they caramelize evenly. This variation is perfect for those who prefer a more familiar fruit base.
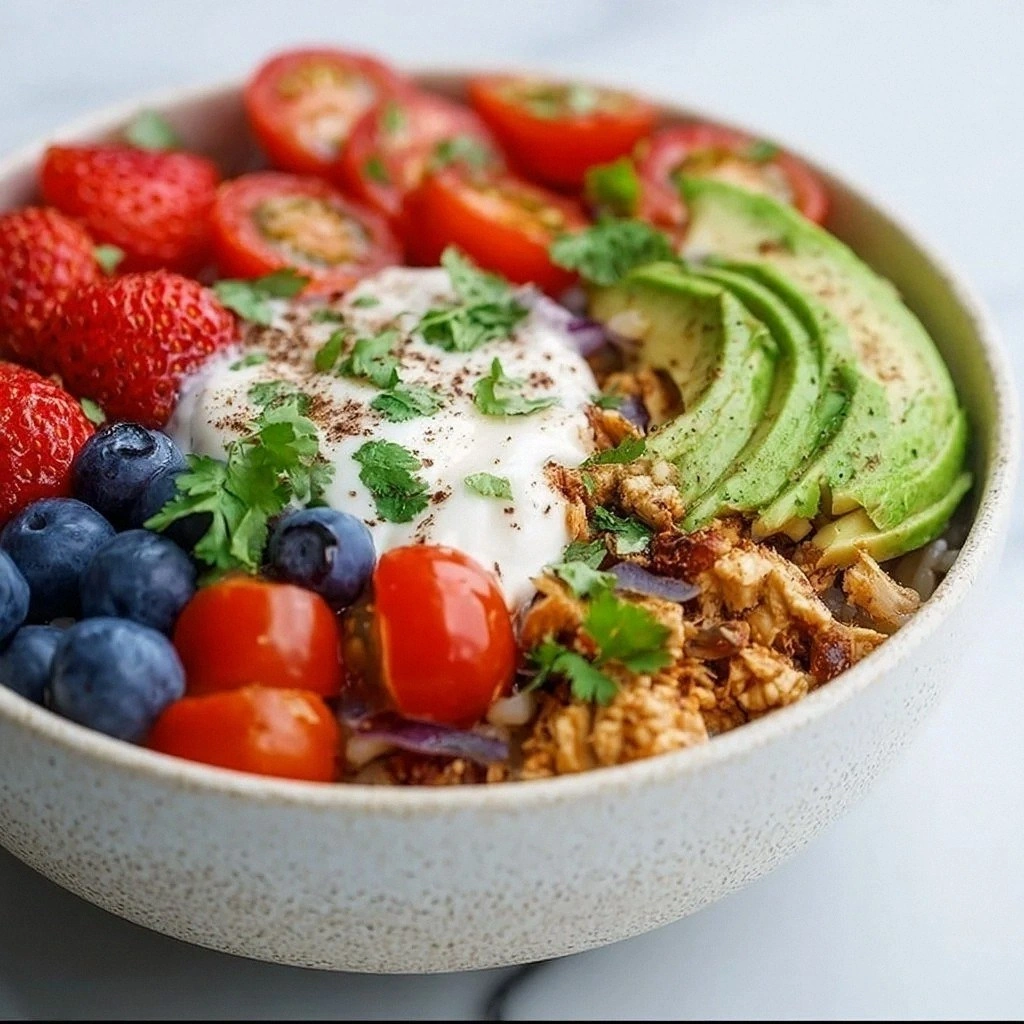
Berry Bliss
For a lighter, fresher take, use a mix of berries—strawberries, blueberries, and raspberries. The berries will burst with juice, giving the crumble a sweet, juicy burst. Reduce the brown sugar by half to avoid overpowering the delicate berries.
Nutty Crunch
Add chopped walnuts or pecans to the crumble mixture for an added nutty flavor and crunch. Toast the nuts lightly before mixing to bring out their oils. The nutty undertones elevate the dessert into a richer, more complex treat.
Spiced Chai Crumble
Replace the cinnamon and nutmeg with chai spice blend for an exotic twist. The cardamom, ginger, and cloves will infuse the crumble with a warm, aromatic profile. Pair it with a chai latte for a cozy afternoon.
Chocolate Drizzle
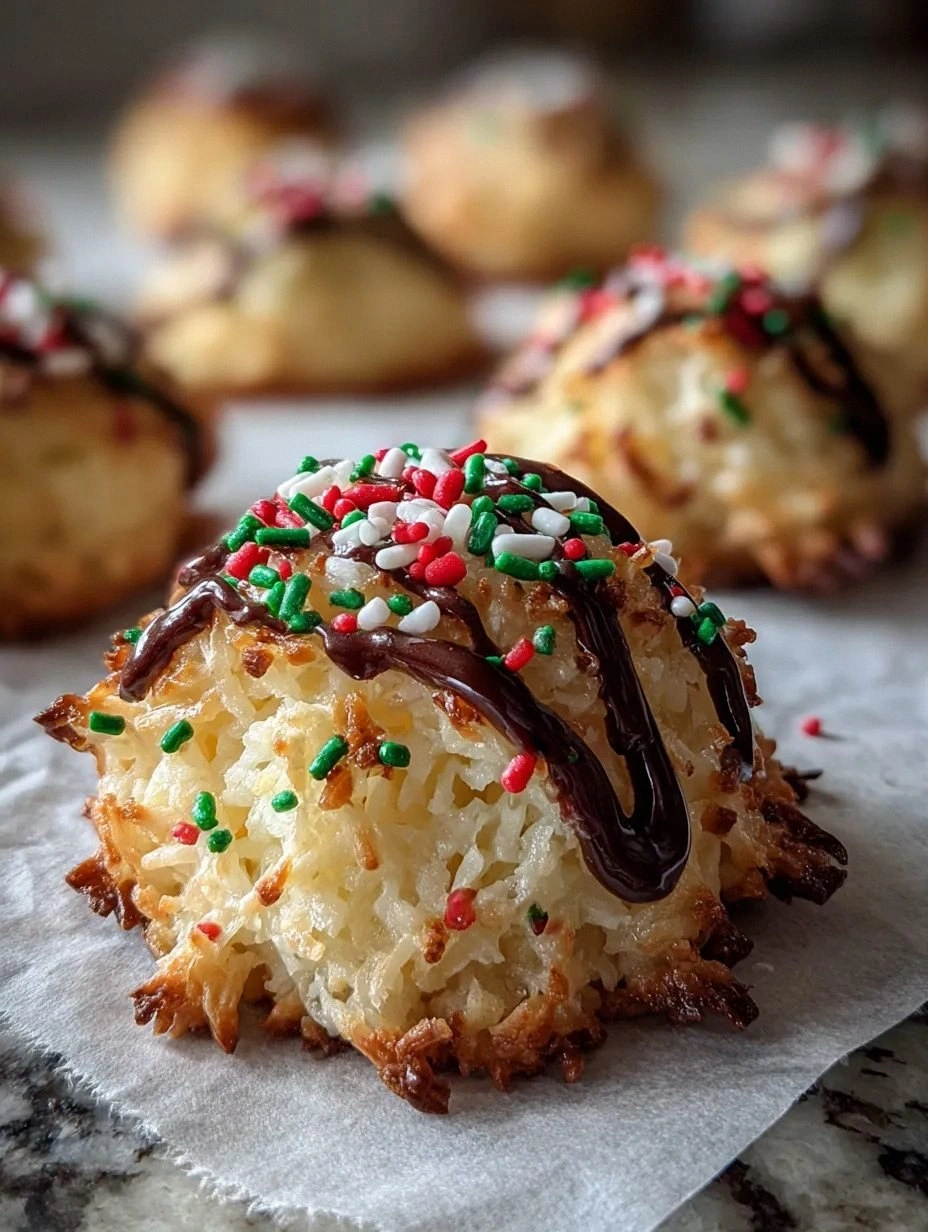
Drizzle melted dark chocolate over the hot crumble right before serving. The chocolate will melt into the warm fruit, creating a decadent, chocolate‑pear fusion. Sprinkle sea salt on top for a sweet‑savory finish.
Vegan Version
Swap the butter for coconut oil or a plant‑based butter alternative. Use a vegan all‑purpose flour blend and replace the dairy yogurt or ice cream with a plant‑based version. The flavor remains rich, and the texture stays satisfying.
Storing and Bringing It Back to Life
Fridge Storage
Once cooled to room temperature, cover the dessert tightly with plastic wrap or store in an airtight container. Keep it in the refrigerator for up to two days. The crumble may soften slightly, but it will still taste delicious.
Freezer Friendly
For longer storage, place the dessert in a freezer‑safe container and freeze for up to two weeks. When you’re ready to enjoy, thaw overnight in the refrigerator. The texture may be a bit softer, but the flavor remains intact.
Best Reheating Method
To revive the crispness, preheat the oven to 350°F (175°C) and bake for 5–7 minutes. If you prefer a quick fix, microwave on low power for 30 seconds, then place in the oven briefly to crisp the top. Adding a splash of water before reheating helps the crumble steam back to perfection.