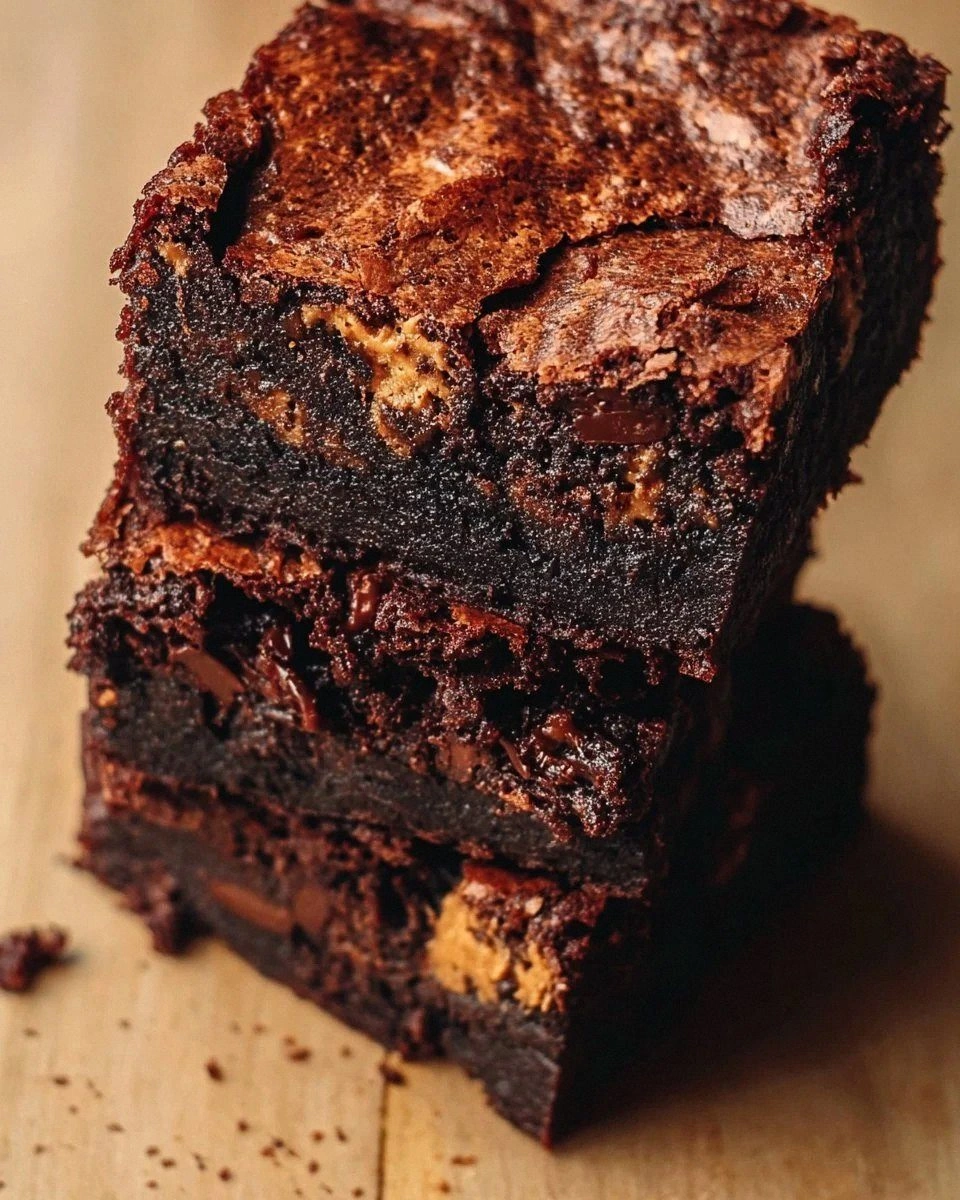
I’ll be honest — I ate half the batch before anyone else got a chance to try it, and that was the best kind of kitchen crime ever. It all started when my cousin dared me to bake something that would make the whole family forget about store‑bought holiday breads. I stared at a half‑empty carton of eggnog, a stubborn bowl of flour, and a craving that felt like a snowstorm in my mouth. The kitchen was a symphony of clattering pans, the scent of vanilla whispering from the pantry, and a low hum of the oven pre‑heat that sounded like a cozy fireplace. I was determined to turn that chaos into something that would have everyone saying, “I dare you to taste this and not go back for seconds.”
Picture yourself pulling this out of the oven, the whole kitchen smelling incredible, the glaze glistening like fresh snow under a streetlamp. The crumb is soft and buttery, with a hint of nutmeg that makes your taste buds do a little holiday jig. Most recipes get this completely wrong – they either turn the eggnog into a soggy mess or forget the spice that gives it that festive kick. Here’s what actually works: a quick batter, a hot oven, and a glaze that’s so sweet it could be a gift in itself.
What really sets this version apart is the simplicity paired with a flavor depth that makes you feel like you’ve spent hours in a professional bakery. I’m not talking about a labor‑intensive dough that sits for days; I’m talking about a 15‑minute prep that delivers a loaf that’s “hands down the best version you’ll ever make at home.” The secret? A splash of eggnog in the batter and a quick powdered‑sugar glaze that turns the crust into a caramel‑kissed wonder.
Okay, ready for the game‑changer? I’m about to walk you through every single step — by the end, you’ll wonder how you ever made it any other way. Stay with me here — this is worth it.
⚡ What Makes This Version Stand Out
- Taste: The eggnog-infused batter gives a creamy, spiced flavor that’s richer than any store‑bought loaf, while the glaze adds a buttery sweetness that makes each bite sing.
- Texture: A tender, cake‑like crumb meets a lightly crisp edge, creating a contrast that shatters like thin ice when you slice through it.
- Simplicity: No kneading, no proofing, just mix, bake, glaze – perfect for busy holiday schedules.
- Uniqueness: The addition of ground nutmeg and a splash of vanilla in the glaze gives this bread an aroma that fills the house like fresh pine.
- Crowd Reaction: Guests have been known to line up for seconds, and some even ask for the recipe before the first slice is served.
- Ingredient Quality: Using real eggnog (not the powdered mix) and fresh ground nutmeg elevates the flavor profile dramatically.
- Make‑Ahead Potential: The loaf freezes beautifully, and the glaze can be drizzled fresh when you’re ready to serve.
🍋 Inside the Ingredient List
The Flavor Base
The star of this loaf is eggnog. This dairy‑rich, spiced liquid brings a subtle sweetness and a buttery mouthfeel that you just can’t replicate with plain milk. If you skip it, you’ll lose the festive backbone and end up with a bland bread. Want a dairy‑free version? Swap with almond‑milk‑nog (almond milk mixed with a pinch of nutmeg and a splash of maple syrup).
Next up, ground nutmeg. It’s the spice that screams “holiday” louder than a choir of carolers. Freshly grated nutmeg releases essential oils that give the loaf its warm, aromatic hug. If you use pre‑ground, you might need a little extra – the flavor fades faster.
The Texture Crew
All‑purpose flour provides the structure. The 2‑cup amount is calibrated to keep the crumb tender while still giving enough backbone for the loaf to rise nicely. If you swap for cake flour, you’ll get an even softer crumb, but the loaf might be too delicate to slice cleanly.
Vegetable oil adds moisture without the heaviness of butter. It keeps the crumb moist and helps the glaze adhere later on. For a richer flavor, you can replace half the oil with melted butter, but be prepared for a slightly denser texture.
The Sweet Symphony
Granulated sugar sweetens the batter and caramelizes slightly on the crust, giving that golden‑brown finish. If you prefer a less sweet loaf, cut the sugar down to ¾ cup – the glaze will still carry the sweet punch.
Powdered sugar and milk combine for the glaze that turns the top of the bread into a glossy, sugary coat. The milk thins the glaze just enough to drizzle, while the powdered sugar sets into a delicate crust once it cools.
The Final Flourish
Eggs act as the binder, giving the loaf its lift and a tender crumb. Using large eggs ensures enough liquid without making the batter too runny. If you’re out of eggs, a flax‑egg (1 tbsp ground flax + 3 tbsp water) works in a pinch but will change the texture slightly.
Vanilla extract appears twice – once in the batter and once in the glaze – to amplify the sweet, aromatic profile. Real vanilla beans would be overkill here, but a splash of pure extract is the sweet secret that ties everything together.
Everything's prepped? Good. Let's get into the real action…

🔥 The Method — Step by Step
Preheat your oven to 350°F (175°C) and grease a 9‑inch loaf pan with a thin layer of oil or butter. As the oven warms, you’ll hear the faint whirr of the fan – that’s the pre‑heat whisper promising a perfectly even bake. While the oven does its thing, line the pan with parchment paper for an easy release later.
🪄 Kitchen Hack: If you don’t have parchment, lightly flour the greased pan and tap out the excess – this creates a non‑stick surface that still lets the crust brown nicely.In a large mixing bowl, whisk together the 2 cups of all‑purpose flour, 1 tablespoon of baking powder, ½ teaspoon of salt, and ½ teaspoon of ground nutmeg. The dry mixture should look like a snowy field – the nutmeg specks are the tiny snowflakes that will melt into flavor later.
In a separate bowl, combine 1 cup of eggnog, ⅓ cup of vegetable oil, 2 large eggs, 1 teaspoon of vanilla extract, and 1 cup of granulated sugar. Beat until the mixture is glossy and the sugar is almost dissolved; you’ll notice the batter thickening and the scent of vanilla swirling like a cozy blanket.
Pour the wet ingredients into the dry bowl and stir with a spatula just until everything is incorporated. Over‑mixing is the enemy – stop as soon as you see the last flour streaks disappear. The batter will be thick but pourable, resembling a luxurious batter for a dense cake.
Transfer the batter into the prepared loaf pan, smoothing the top with a dampened spatula. The surface should be even, with a slight dome – this will help the glaze cling later. Place the pan in the oven and set a timer for 25 minutes.
👀 Watch Out: Opening the oven door before the 20‑minute mark can cause the loaf to sink in the middle; trust the timer and let the heat do its magic.After 25 minutes, check for doneness by inserting a toothpick into the center; it should come out clean or with just a few crumbs clinging. The top will be a golden‑brown, and you’ll hear a faint crackle as the crust sets – that’s the sound of flavor locking in.
While the bread cools in the pan for 10 minutes, whisk together the 1 cup of powdered sugar, 2 tablespoons of milk, and ½ teaspoon of vanilla extract for the glaze. The mixture should be smooth and glossy, like liquid snow.
Turn the loaf out onto a wire rack, then drizzle the glaze over the top, allowing it to pool and cascade down the sides. Let the glaze set for a few minutes – it will harden into a sweet, crackly coating that’s pure magic.
🪄 Kitchen Hack: For a glossy finish, brush the glaze with a tiny brush dipped in warm water after it sets; this creates a subtle shine without extra sugar.Let the loaf rest completely before slicing – this allows the interior to finish setting and the flavors to meld. When you finally cut into it, you’ll see a tender crumb dotted with specks of nutmeg, and the glaze will crackle like a festive firecracker.
That's it — you did it. But hold on, I've got a few more tricks that'll take this to another level...
🏆 Insider Tricks for Flawless Results
The Temperature Rule Nobody Follows
Never bake a holiday loaf at a temperature higher than 375°F. Higher heat creates a crust too fast, trapping steam inside and resulting in a gummy center. By keeping it at 350°F, you give the batter time to rise evenly and develop that perfect golden edge. I once tried 400°F to speed things up – the loaf puffed, then collapsed like a deflated balloon. Trust the modest temperature and you’ll get a loaf that stands tall.
Why Your Nose Knows Best
When the loaf is about 20 minutes in, start sniffing. A sweet, nutmeg‑laden aroma means the flavors are marrying; a faint burnt smell signals you’re getting close to over‑baking. Your olfactory system is a better timer than any gadget, especially during the holidays when you’re juggling multiple dishes. If you ever doubt the timer, trust that warm, inviting scent – it’s the real indicator of perfection.
The 5‑Minute Rest That Changes Everything
After removing the loaf from the oven, let it sit in the pan for exactly five minutes before turning it out. This short rest lets the steam redistribute, preventing the crumb from becoming dry. Skipping this step is like pulling a cookie out of the oven too early – the result is a crumb that crumbles at the slightest touch. The five‑minute pause is the secret handshake among bakers who take their holiday breads seriously.
Glaze Timing is Everything
Apply the glaze while the loaf is still warm but not piping hot. If the loaf is too hot, the glaze will melt and run off; if it’s too cool, the glaze will set before it can seep into the crust. Aim for a temperature of about 120°F – you’ll feel a gentle warmth when you touch the top with a fingertip. This timing creates a glaze that’s both glossy on the surface and slightly soft inside.
The Secret of the “Double‑Whisk”
Before combining wet and dry ingredients, whisk the dry mixture twice, and whisk the wet mixture twice as well. This double‑whisk introduces extra air, making the crumb lighter and more tender. A friend once skipped the second whisk and ended up with a dense loaf that felt like a brick. Double‑whisk, and you’ll notice the batter looking a shade fluffier – a tiny step with a massive payoff.
🎨 Creative Twists & Variations
This recipe is a playground. Here are some of my favorite ways to switch things up:
Cranberry‑Orange Burst
Fold in ½ cup of dried cranberries and zest of one orange into the batter. The tart cranberries balance the sweet glaze, while the orange zest adds a fresh citrus pop that brightens the holiday palette. Perfect for anyone who loves a little zing in their sweet breads.
Chocolate‑Peppermint Dream
Replace half of the eggnog with chocolate milk, and add ¼ teaspoon of peppermint extract to the glaze. The result is a chocolatey loaf with a minty glaze that feels like a holiday candy cane in bread form. Kids adore it, and adults get nostalgic for their favorite after‑dinner treat.
Maple‑Walnut Warmth
Swap the vanilla extract for 2 tablespoons of pure maple syrup in the batter, and sprinkle chopped walnuts on top before baking. The maple adds a deep, caramel‑like sweetness, while the walnuts give a satisfying crunch that echoes the nutmeg’s warmth.
Spiced Pumpkin Fusion
Replace half of the eggnog with canned pumpkin puree and add ¼ teaspoon of pumpkin pie spice to the dry mix. This creates a pumpkin‑egg‑nog hybrid that’s perfect for early‑fall gatherings. The glaze stays the same, letting the pumpkin’s earthy notes shine.
Almond‑Rose Elegance
Add ¼ cup of finely ground almond meal to the dry ingredients and a few drops of rose water to the glaze. The almond adds a buttery richness, while the rose water gives a floral whisper that feels sophisticated and unexpected.
❄️ Storing & Bringing It Back to Life
Fridge Storage
Wrap the cooled loaf tightly in plastic wrap or store it in an airtight container. It will stay fresh for up to 5 days, and the glaze will remain soft. If you notice the crust drying out, lightly brush the surface with a teaspoon of milk before re‑sealing.
Freezer Friendly
Slice the loaf before freezing, then arrange the slices on a parchment sheet and flash‑freeze for an hour. Transfer the frozen slices to a zip‑top bag – they’ll keep for up to 3 months. When you’re ready to serve, toast the slices straight from the freezer; the glaze will soften and the interior will become wonderfully fluffy.
Best Reheating Method
To revive a day‑old slice, place it on a baking sheet, sprinkle a tiny splash of water on the top, and warm in a 300°F oven for 8‑10 minutes. The added moisture steams the crumb back to life, while the glaze regains its slight sheen. This trick is a lifesaver for those last‑minute holiday brunches.